Sunday, July 27, 2014

Attempting to make a mold out of terrain.


The new project this year is to make some molds of Terrain pieces. I want to start by making some Trenches and then create a enough pieces to fill an entire warmachine board with Trenches.

My first attempt was done before I took enough pictures, but the end result was a complete mess :)  I did not use enough mold release, and i used sand, which I learned has "silica" in it, which stuck to my molding material (i'm using silicone based product)

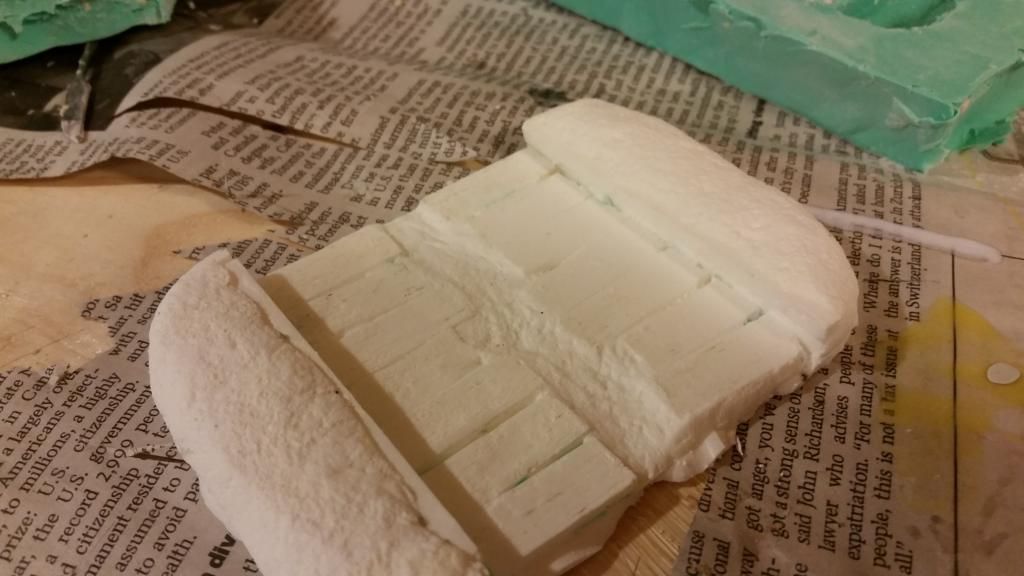
From the 2 test pieces. The first piece was using sand again, but I have layered it in 3 layers of glue before applying the mold release

For Piece #1 i just used the made the sides more textured to mimic sand.

 photo 20140726_171231_zps4a334452.jpg


 photo 20140726_171225_zps03726844.jpg


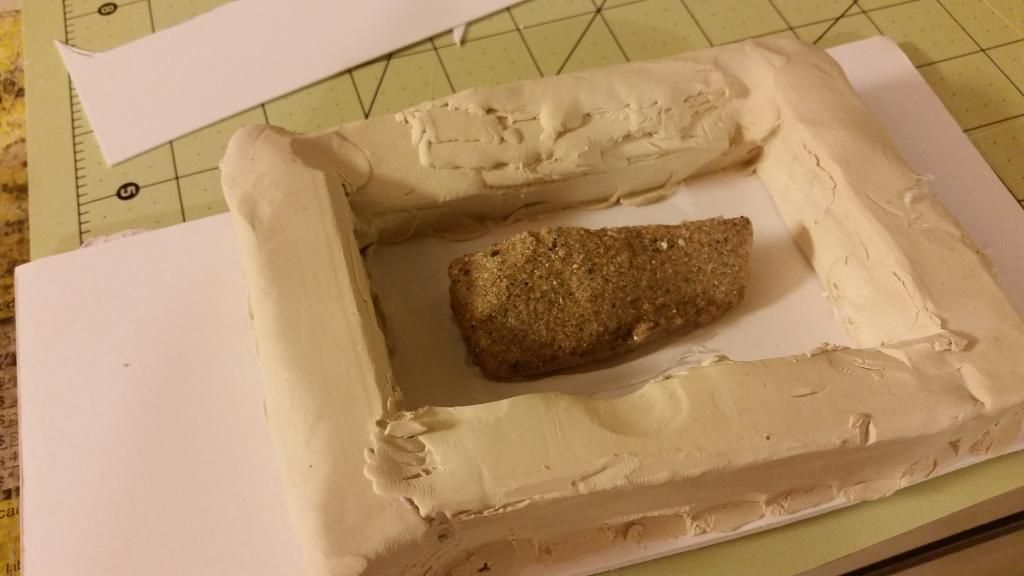
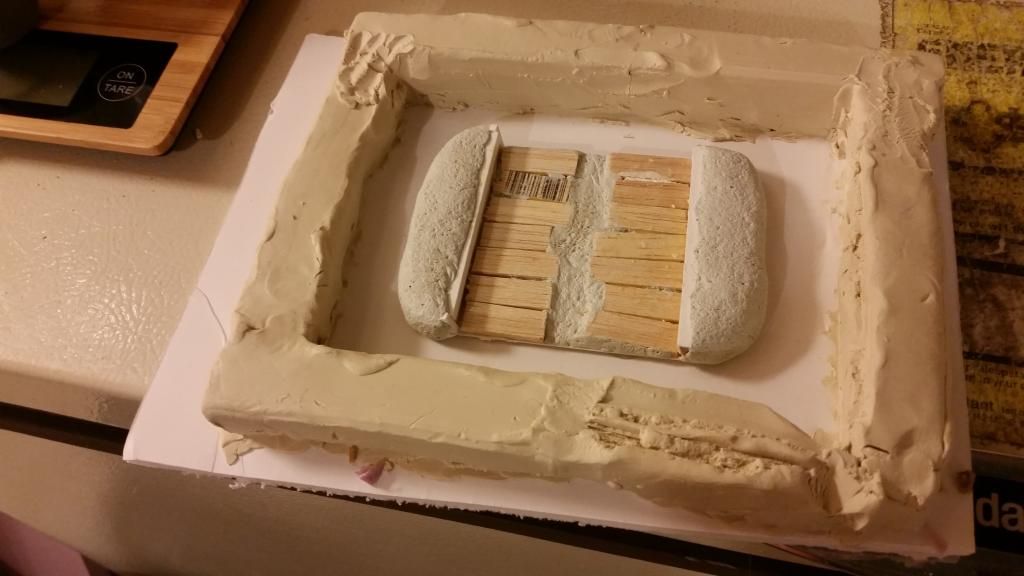
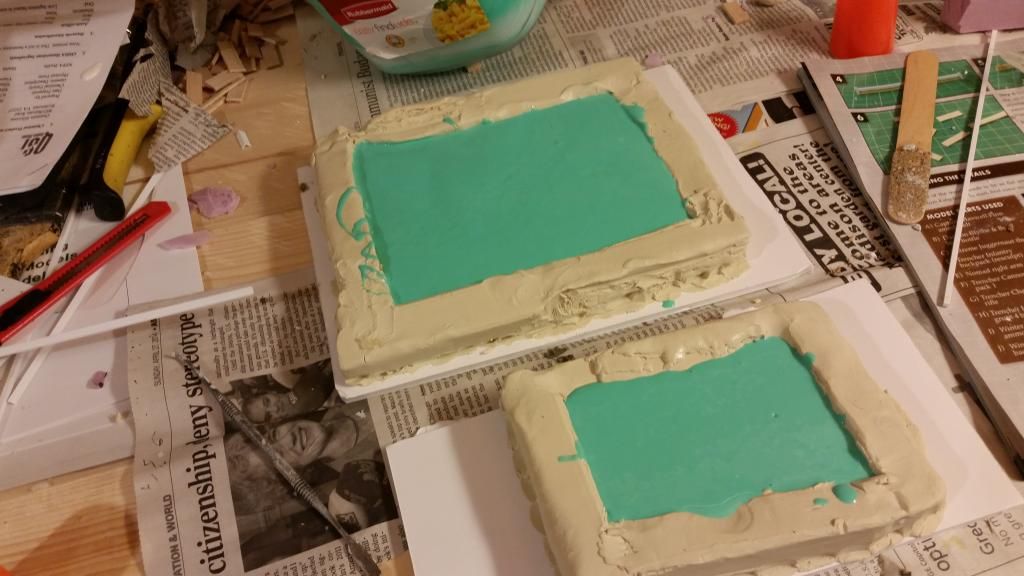
I worked with clay borders this time, (instead of the lego mold) and I really like having a bit more freedom.


 photo 20140726_173948_zps426f4a37.jpg


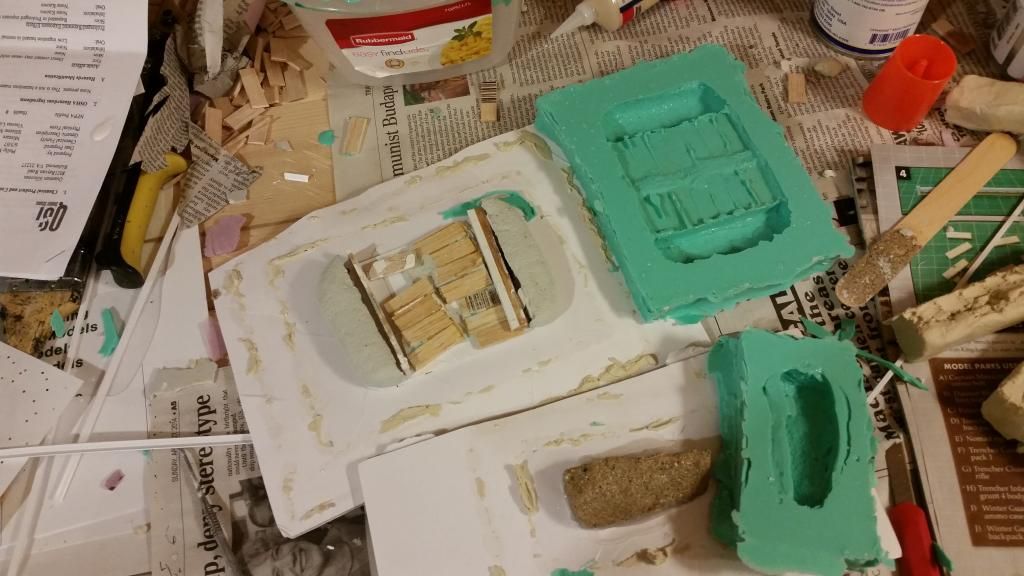
When complete both molds came out fine, and nothing stuck to the mold.  The challenge is the piece of trench i made did not hold together after I pulled it out of the mold. It is a combination of plastic card, and lots of small bits. This may be something I just need to live with


 photo 20140727_071007_zps4f895cab.jpg


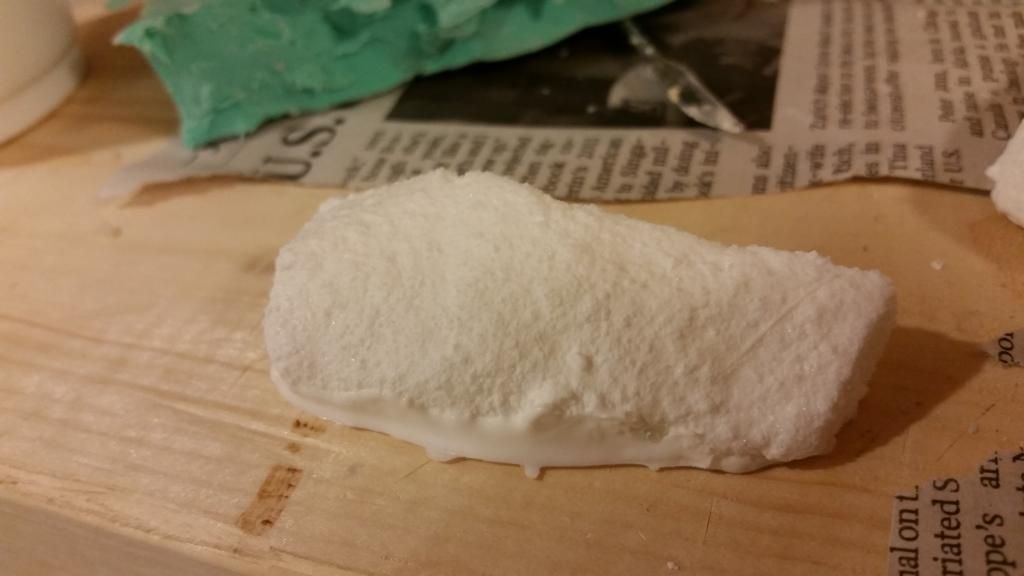
I then made 2 resin casts of each mold to see what the piece would look like and which texture style i would like.  Both images listed below.. You can tell the ends of the cast still need some work, and I have to get bet at trimming the mold when I pull t out, but I am happy with the improvement over my first attempt.

 photo 20140727_090439_zps09177b15.jpg


 photo 20140727_090809_zps9f1000d2.jpg

The next challenge will be finish a bigger trench piece and make it ready for the process.. This is a somewhat expensive learning process, but it has been very intersting.


Monday, July 29, 2013

July Terrain Project

July Terrain Project

 photo 20130729_153335_zpsd3c165bc.jpg 


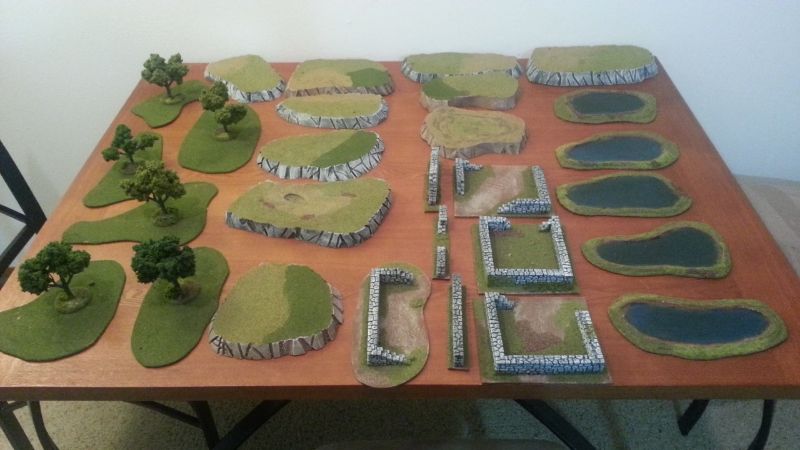
I spent the majority of July working on a variety of terrain types. I wanted to give our local game stores so more terrain and  I also made some terrain for some people I know. I'm debating selling some terrain as well, so I wanted to see how much time it would take me to make various batches of terrain.

I also have some fun making a multi layered terrain piece. I like the idea of a piece of terrain really being 2 or more types of terrain. I have made rough terrain hills in the past as an example.


The sections I will cover today
  • Hills
  • Water pieces
  • Forest pieces
  • Ruins and some Stone Pillars.
  • Mega Terrain - Forest/hill/water pieced
 

Hills 

I have made hills in the past that I was happy with, but they lacked a bit of style. I also am in a contest internal battle of making terrain as playable as possible, but still wanting terrain to look good.   In the past my hills have looked like this.

Going forward I want to add a bit more style.  First I simply cut out some shapes in some pink foam from Home Depot.
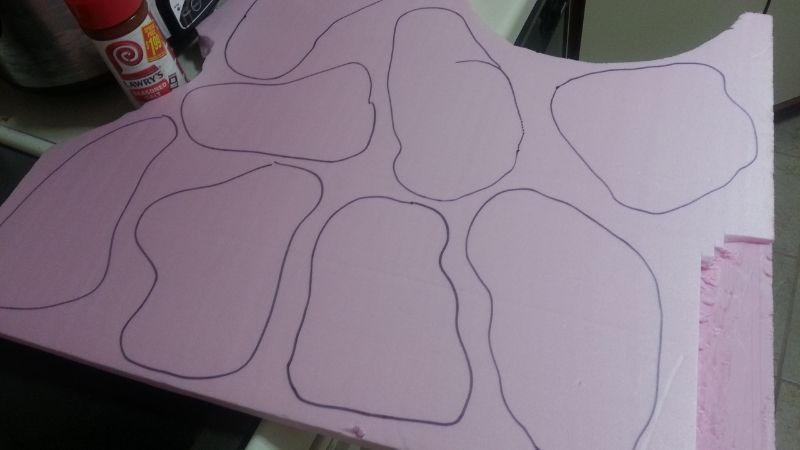


 photo 20130710_132814_zps943f2a2f.jpg


The hills are still fairly straight, but I have cut some angles into the side with the Hot Wire knife shown on the side.
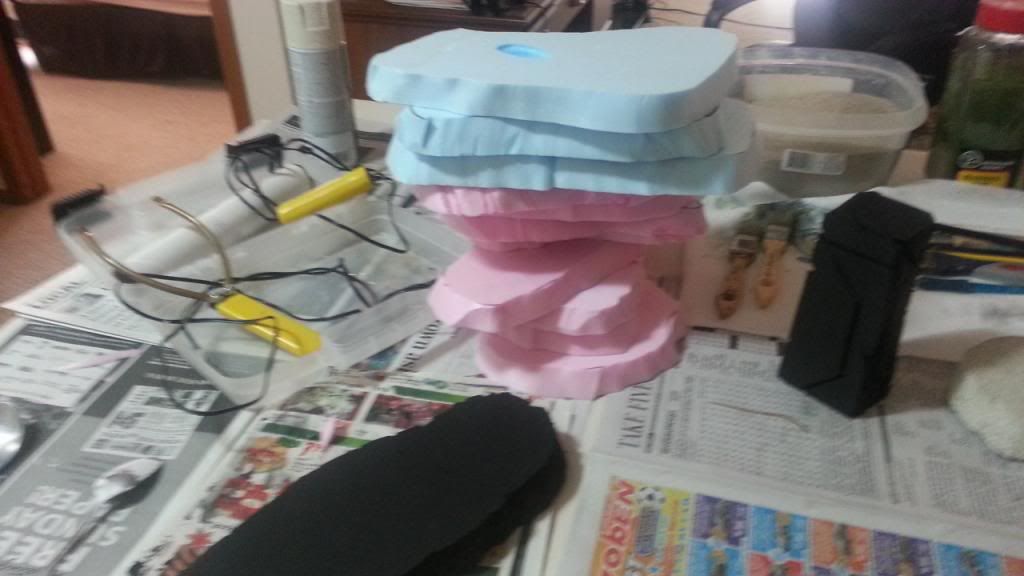
 photo 20130710_144438_zps19fb3a82.jpg


I am going to make some different color hills as well. This is really a big experiment to see how a variety of different styles will look when done.
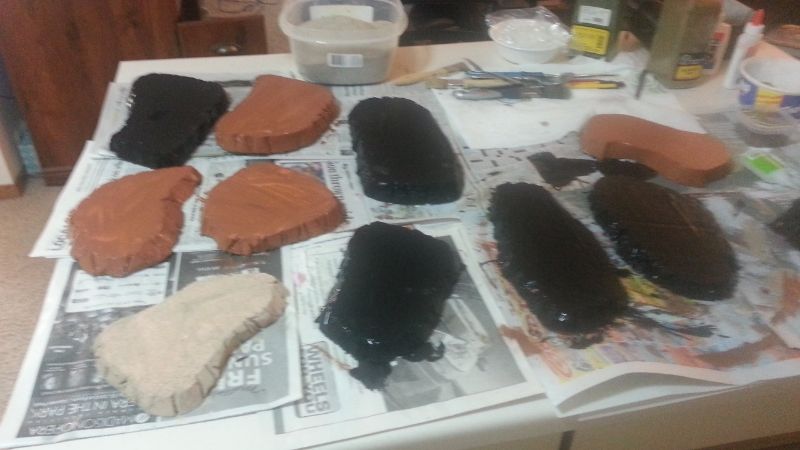

 photo 20130711_155710_zpsfe03d4f8.jpg


The dry brush phase is always pretty quick and easy.
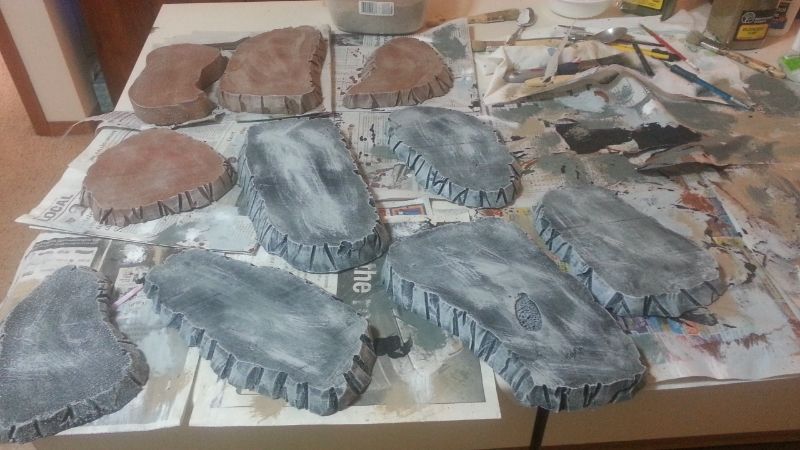

 photo 20130712_101600_zps44a4b789.jpg 


I use a combination of the 2 blended turf flock from Woodland scenics. I find the result of mixing these two to look the nicest on hills/most terrain pieces
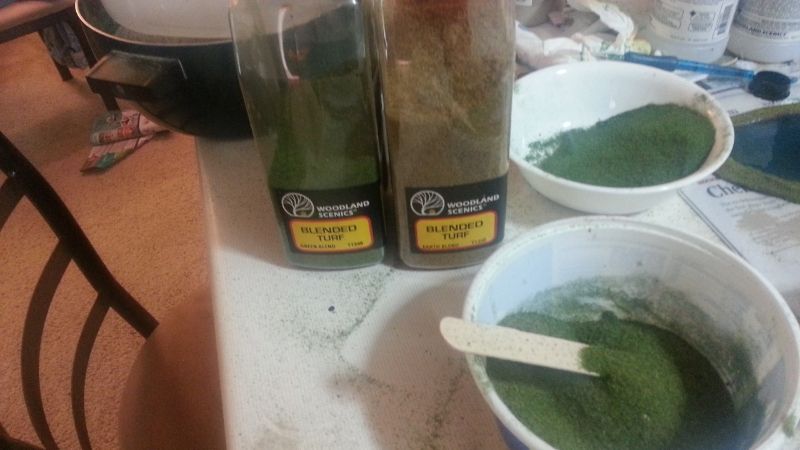


 photo 20130715_154256_zps4b9cf7ab.jpg


Here is the final result on my hills. I'm very happy with how these look. Next time I may use even less flock and make multi layer hills.
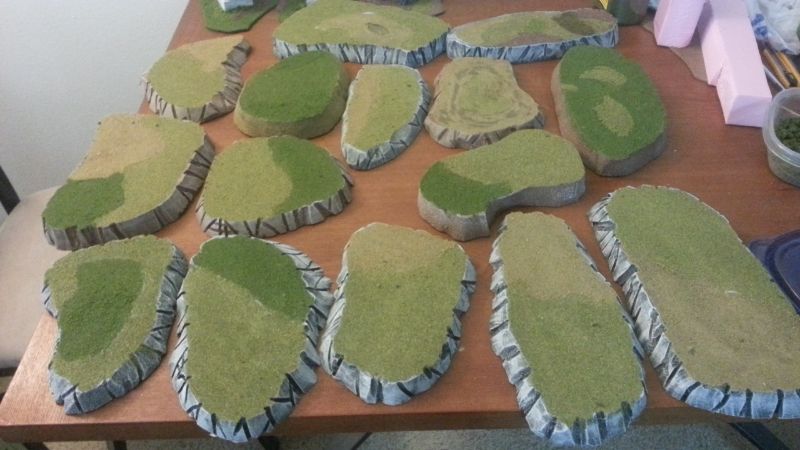

 photo 20130712_140623_zps2bc8b75e.jpg


Water Pieces 


I always enjoy having some nice water pieces of terrain, and I wanted to see if I could mass product some good water pieces.

I have used some caulk I bought at Wal~Mart. It is about $5 for a tube of cualk, and I used the entire tube to make these pieces.
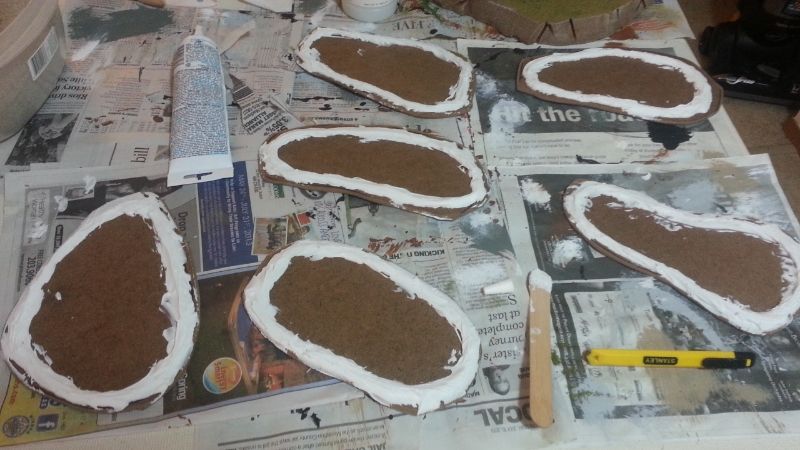


 photo 20130712_161949_zps2e0f5bee.jpg


After the pieces dry I paint the basic colors on the terrain pieces.  I use a combination of blue/green for the base of water effects. I make the middle of the pieces a bit darker.
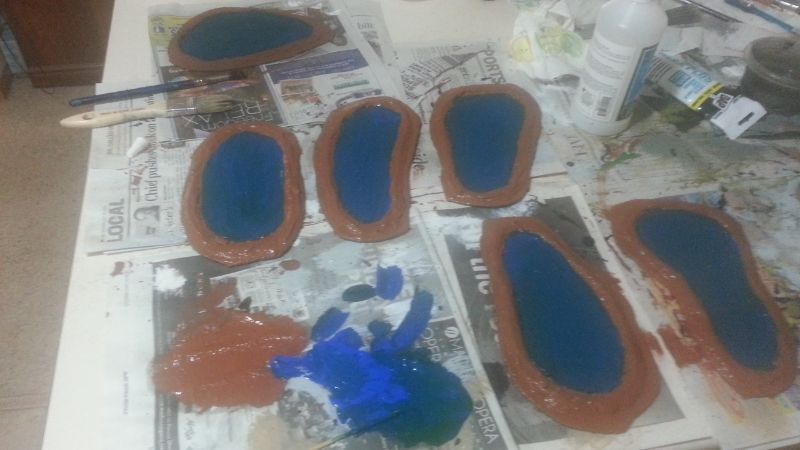

 photo 20130713_112400_zpsdf1f497d.jpg


After the first layer drys I then add in a little more detail.
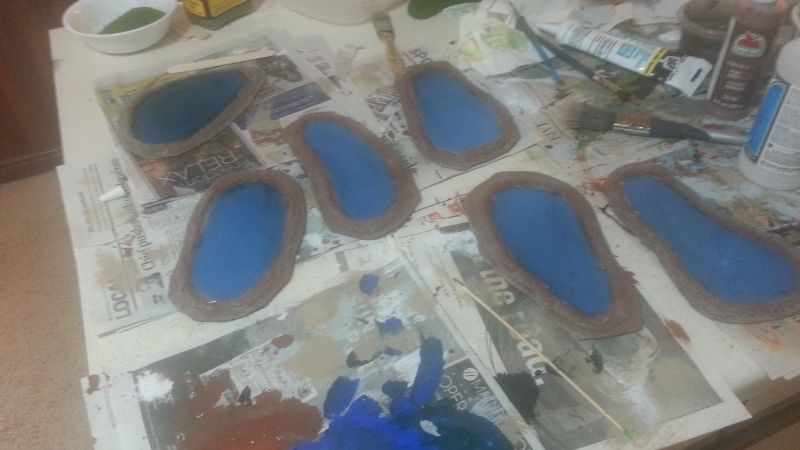
 photo 20130713_151753_zps69006dd7.jpg


I use water effects by Woodland scenics. it costs about $20 per bottle and I used an entire bottle making these pieces.  This is layer 1 of 3.
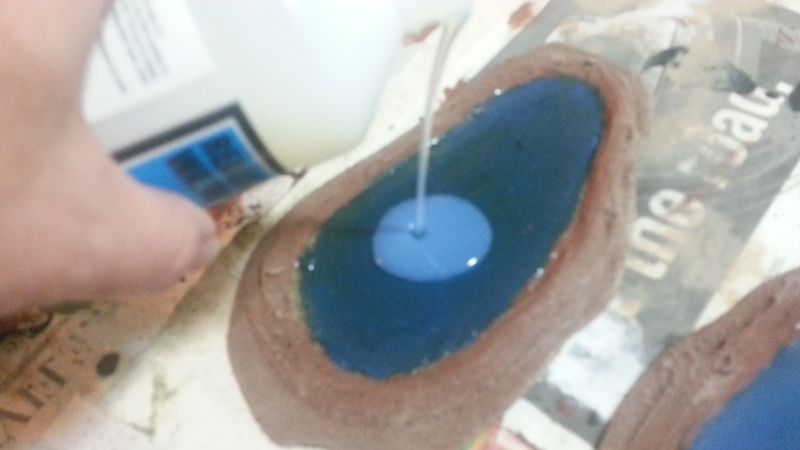
 photo 20130714_103536_zpse768ca53.jpg


The first layer takes 24 hours to dry. It also really things out.  The second layer is added and I put in a combination of blue/green dyes and mixed it into the water effects. This really gives some variety to the final product
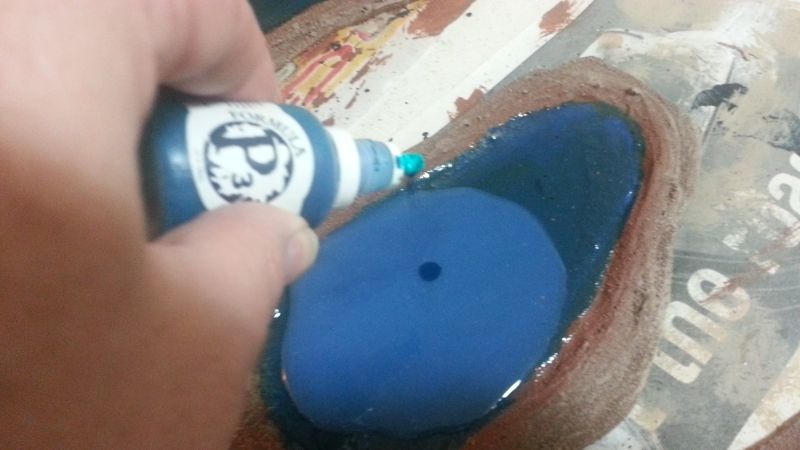

 photo 20130714_103557_zps51185b20.jpg


You can see the difference while it dries based on how much green/blue ink I added to the water effects.
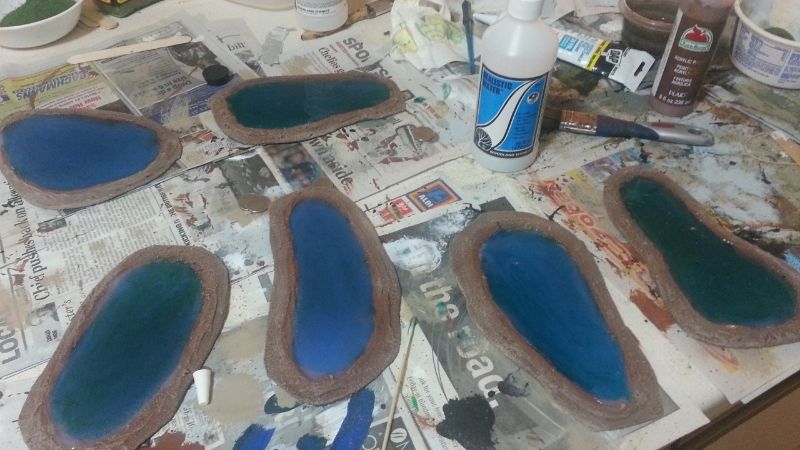
 photo 20130714_103945_zpsf003c428.jpg


The last layer of water is added (I missed the picture, but I also lightly sprinkle some flock into the water to give it a "moss" type effect.

After that layer drys I think work on flocking the base. Here I am putting some glue on the sides of the base.
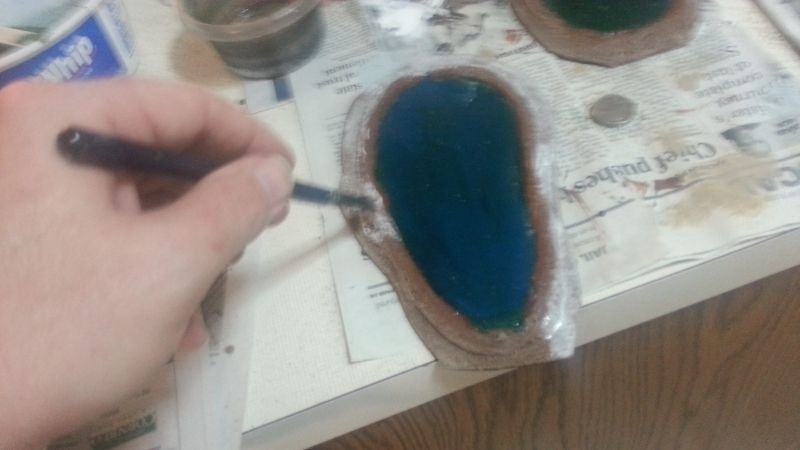


 photo 20130715_154222_zps56c4c84b.jpg 


This is just another  picture of the mixture of 2 flocks I use.


 photo 20130715_154256_zps4b9cf7ab.jpg


I just pour this all over the sides of the base.
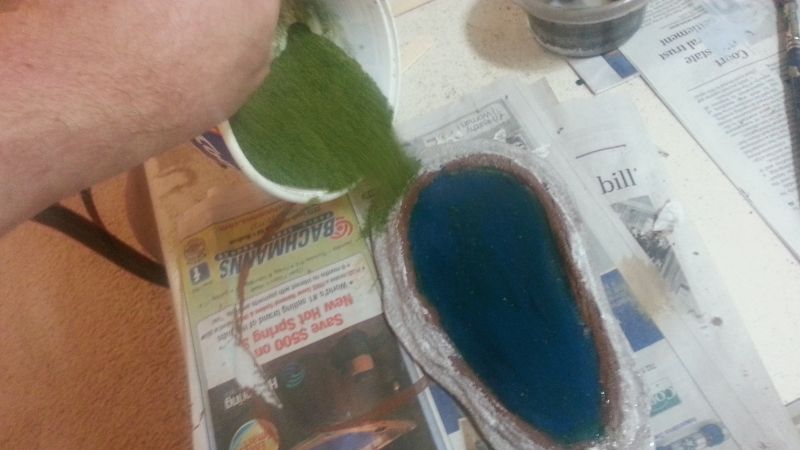
 photo 20130715_154306_zps3deb3e89.jpg


I like to leave the edge by the water brown. The next 2 pictures also show some other flock colors added to the piece for additional effects.
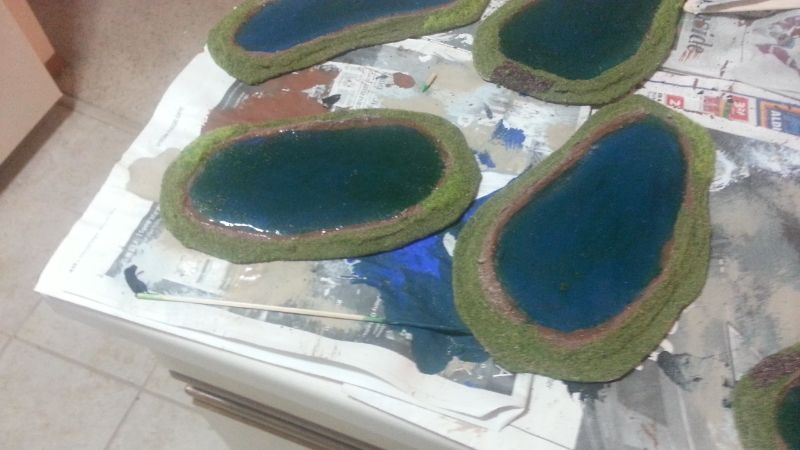
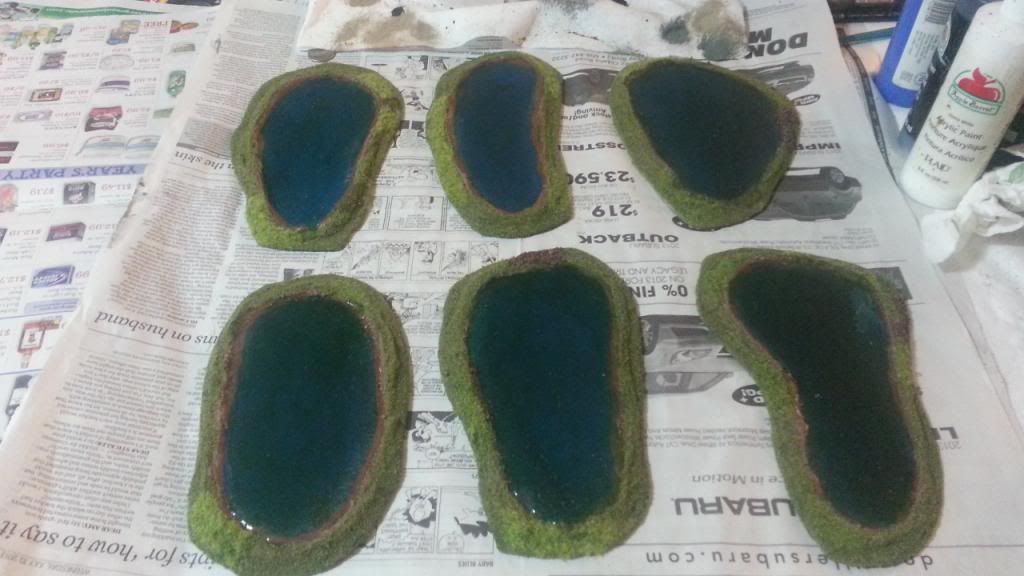
 photo 20130715_190930_zps9f18f71b.jpg


 photo 20130716_062252_zps4870582e.jpg


Forests

I've covered how I make forests before. This will be a brief overview.  Step 1, get all the pieces out ready to be flocked.
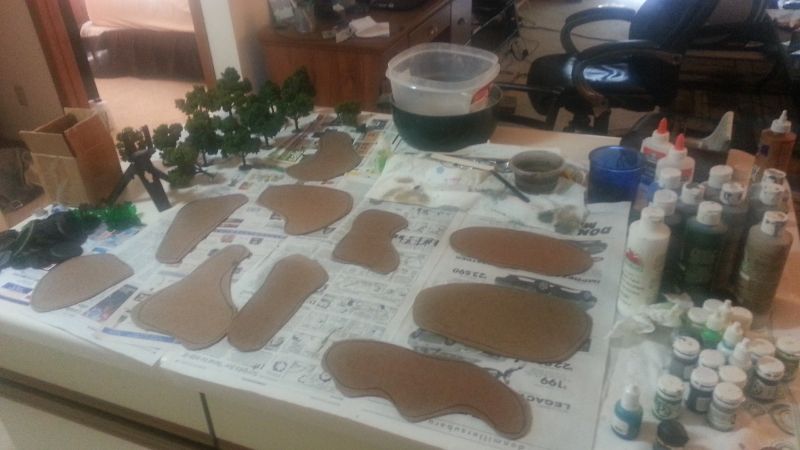


 photo 20130716_164913_zpsd11f9b20.jpg

I user the darker green flock for this. i want the pieces to stand out more as a foreste.
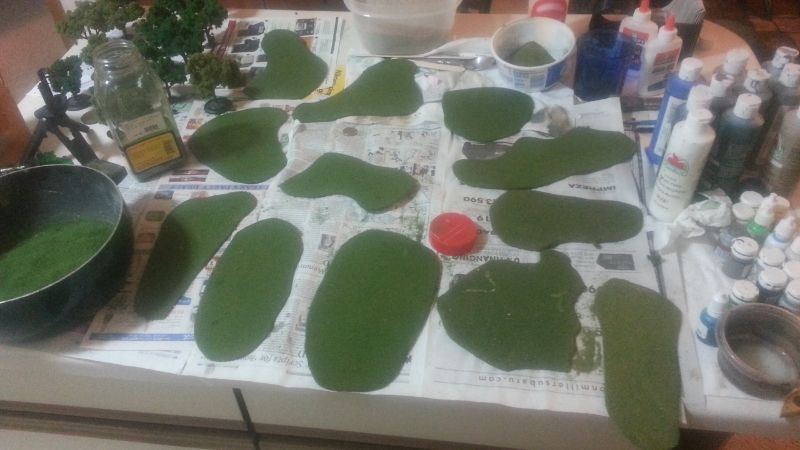

 photo 20130717_062710_zpsb6419749.jpg


This time I have attached all the trees to 50mm bases.
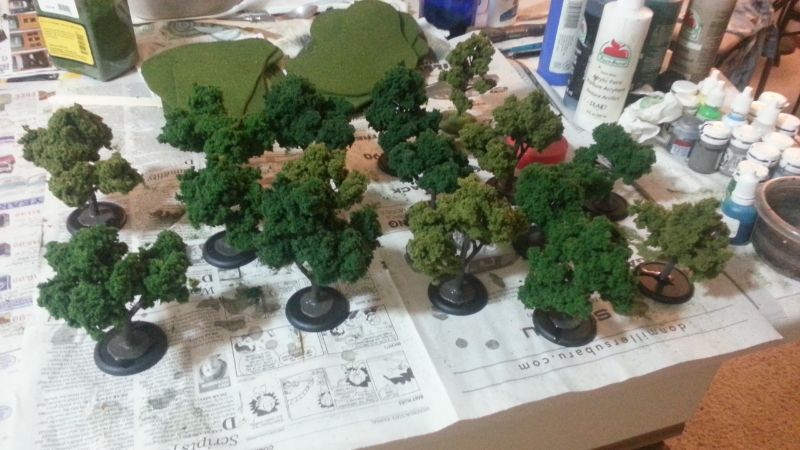

 photo 20130717_220505_zps275ed40a.jpg


I have flocked all the bases for the trees.
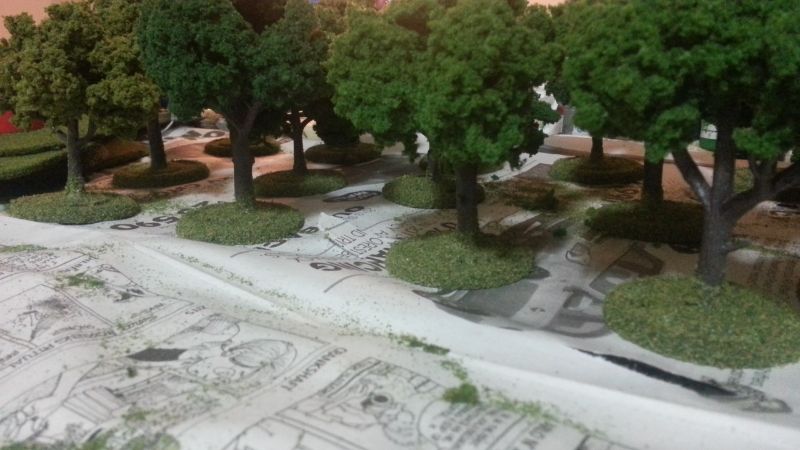

 photo 20130718_081904_zpsedcd0771.jpg


I use a wide variety of materials to add in the final touches to the bases of the trees.
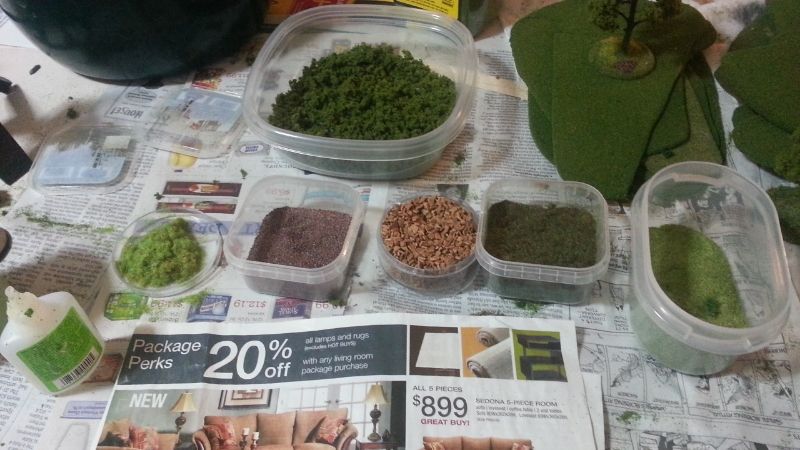

 photo 20130718_085122_zpsfd8667d6.jpg


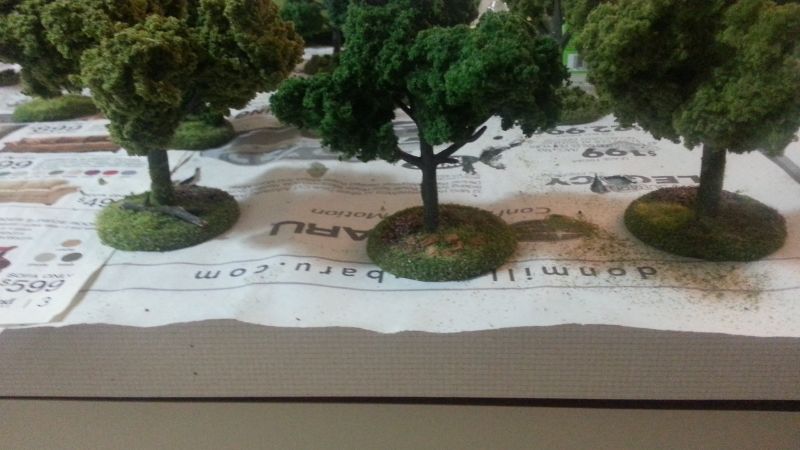
some examples of final tree bases.

 photo 20130718_130922_zpse1fea579.jpg


Ruins & Standing Stones

I made a couple standing stone pieces. Sadly I did not do any in progress pictures.
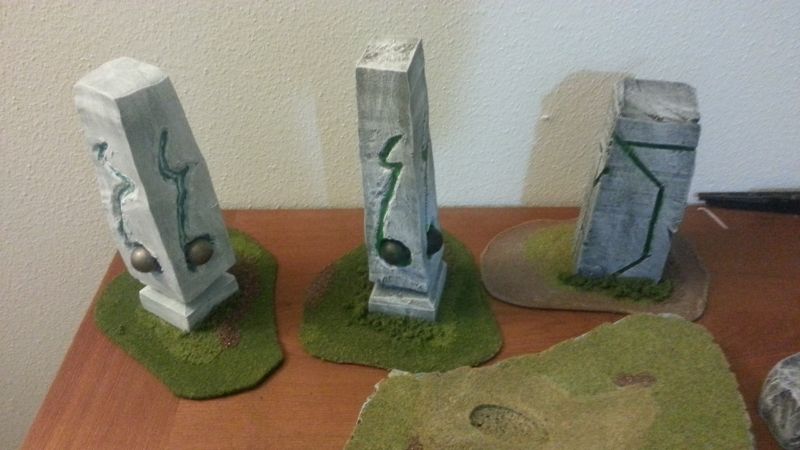

 photo 5037bdc0-13e5-49c4-a207-581e5397dcd5_zps0efb752d.jpg


I have gone over making small wall / ruin pieces many times. I am gong to just quickly show some pictures of what I have done. These were all made with Hirst Art molds.
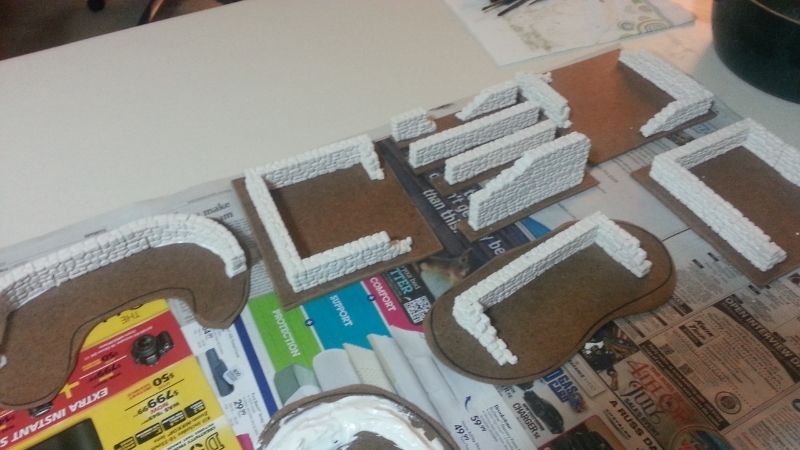
 photo 20130718_184755_zps413a4c8c.jpg


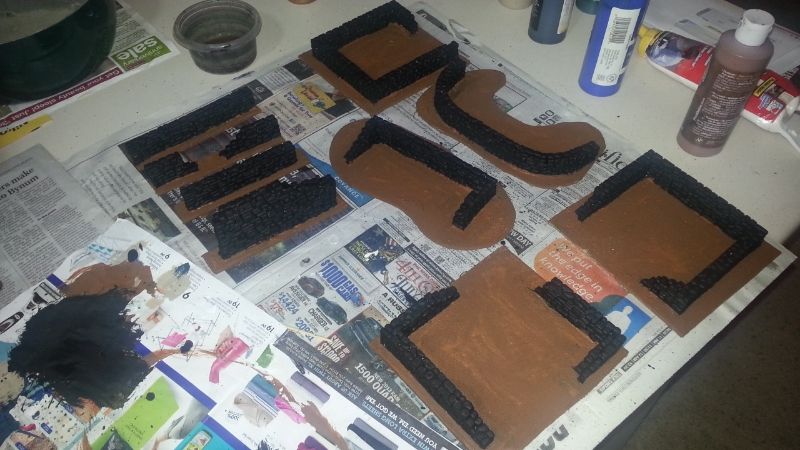
I have applied the base colors


 photo 20130723_165347_zps153fdde9.jpg

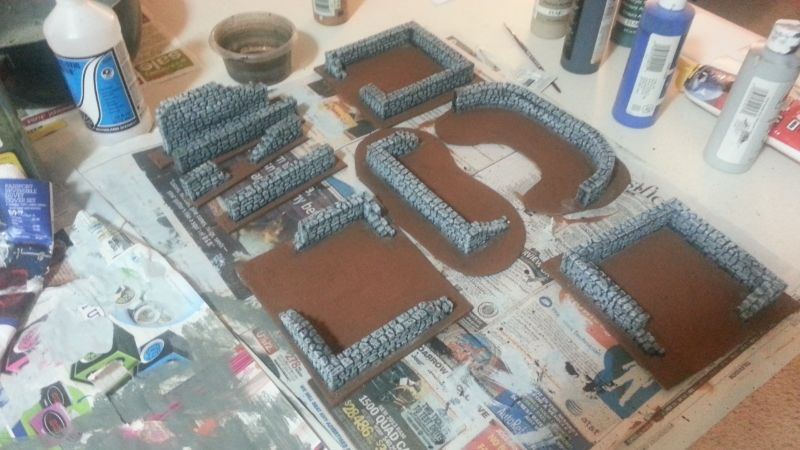
Drybrush on the stone is done first.


 photo 20130723_214659_zps149919c9.jpg


I did some more ground effects as well.
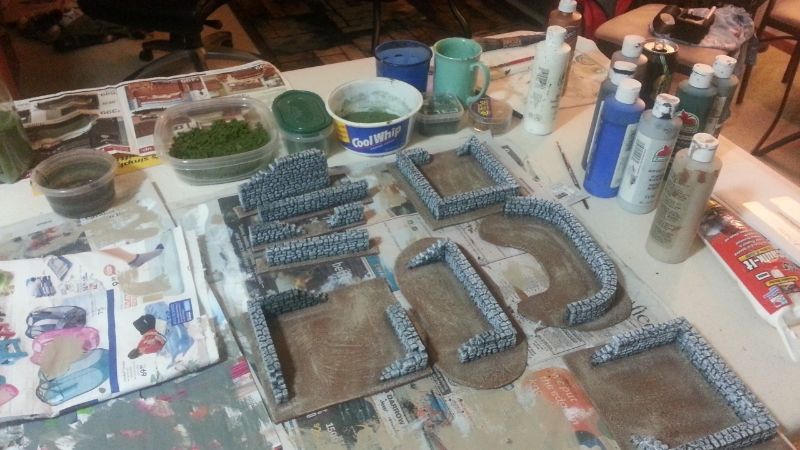
 photo 20130724_061408_zpscf428be9.jpg 
 Here is the final product with some additional flocking material being used on a lot of the pieces.
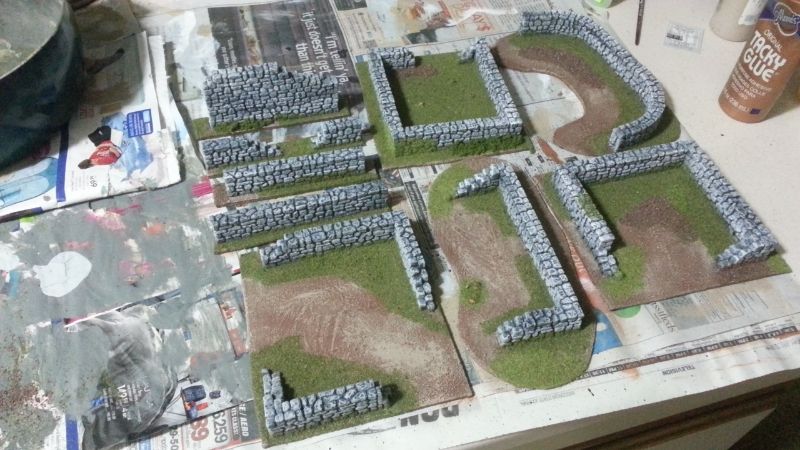


 photo 20130725_221551_zpsd459cb11.jpg


Forest/Hill Water Terrain Piece 

I have always liked the idea of making multi piece terrain. In the past I made some rough terrain hill pieces. This is an initial test piece. 

I put a template down to see how much space a forest piece would take, and used some Caulk to make the outline of the water piece.
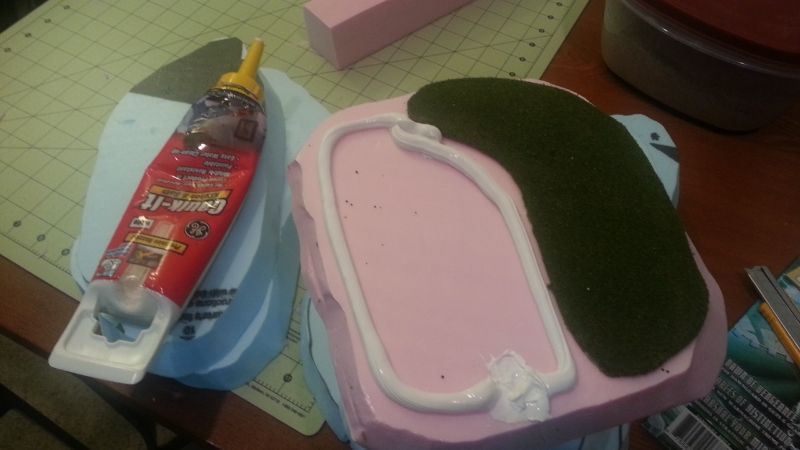

 photo 20130708_154847_zpsd56ce094.jpg

I then applied the gravel bits to the piece. (except where water/forest will be)
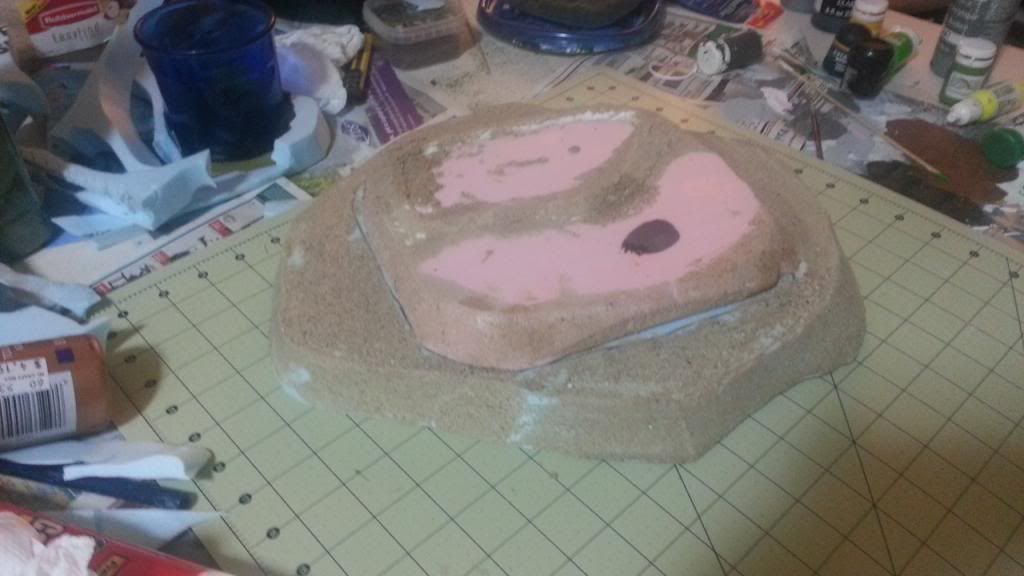

 photo 20130709_063415_zps7a507faf.jpg


I then painted/dry brushed the initial layers on the piece.
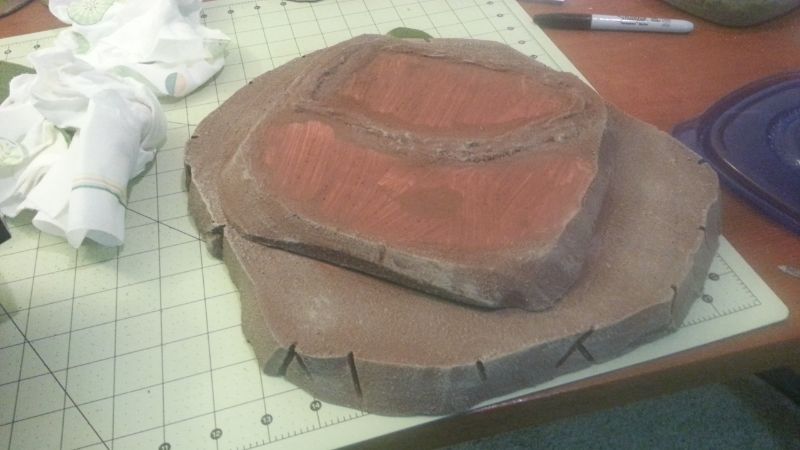
 photo 20130711_162846_zps8afdffaa.jpg

Here is the piece with some flock and the first layer of water.
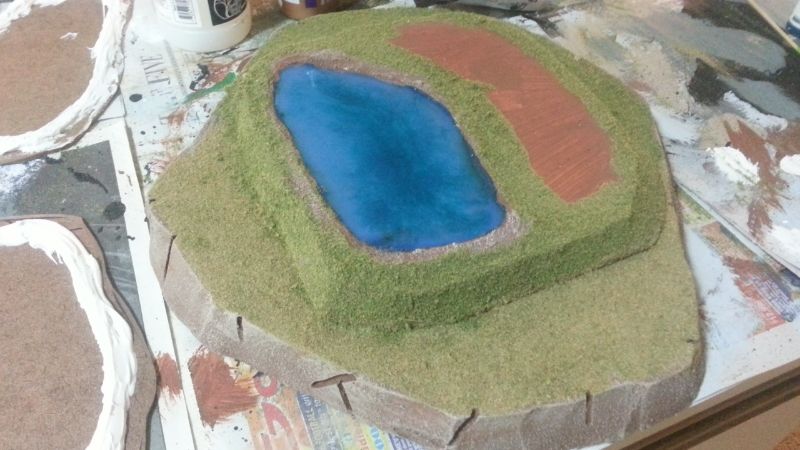


 photo 20130712_161524_zps100c1560.jpg

This is the final look of the initial piece.
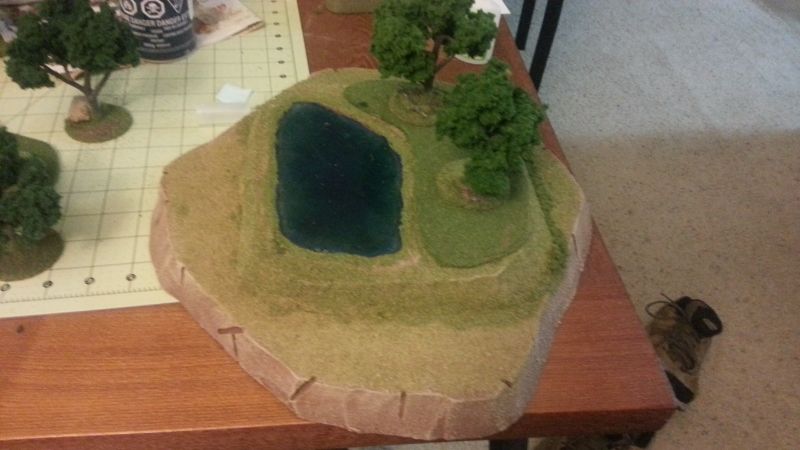

 photo 20130718_195025_zps07e4209b.jpg

Friday, June 28, 2013

The Fun of Preperation


Working on terrain projects involves all sorts of "layers" of work.  Some of it is much more fun then others. Some of it is fairly tedious, but must be done.   Currently as I prepare myself to make all sorts of different terrain pieces I have to work on some of the basic "intial" layers.

For example I am going to be making some more forests, ruins, small ponds/water pieces.   I've discussed how to make many of these pieces in the past, but I have run very low on the material I use to base all these pieces.

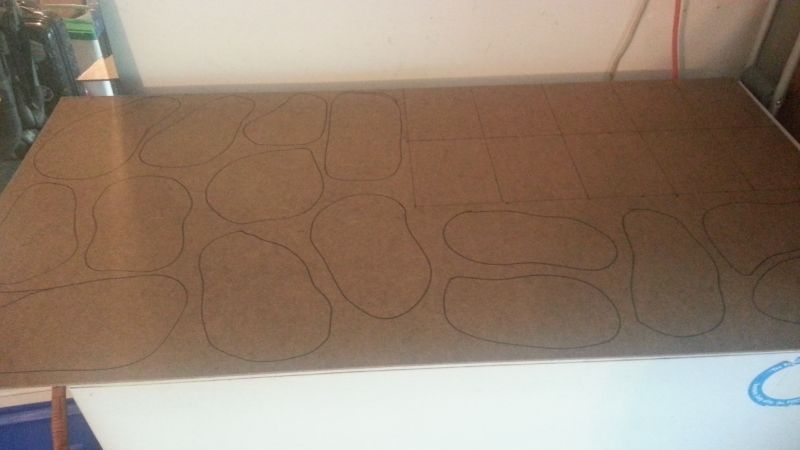
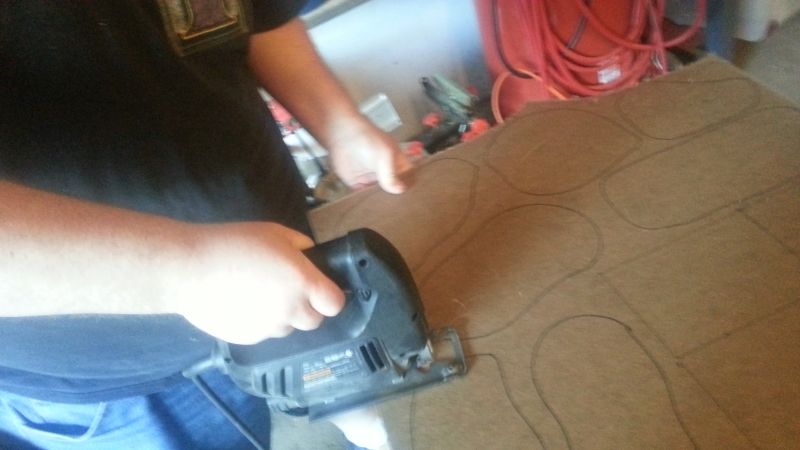
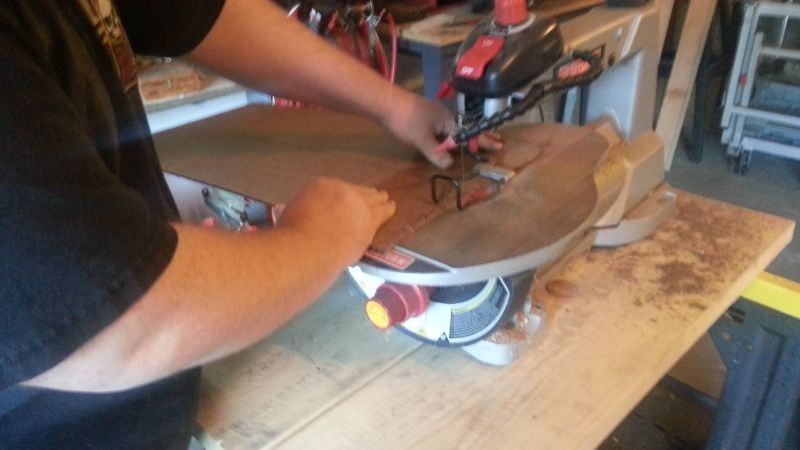
I went to Home Depot and picked up two 2ft by 4ft 1/8 inch think Hardboard.  I then had the help of a friend "Ben Cone", (who is part of WiscoDice Podcast) and his table saw, jigsaw and sander.

Creating "bases"

 Step 1.)   I grab a magic marker and just start laying out some designs I want to cut.


Step 2.)  I have 2 sheets to fill out, so I just create all sorts of shapes I feel I can do something with later.


Step 3.)   Now the fun begins.  Ben gets out the Jigsaw and helps cut out some big chunks


Step 4.) The Table saw helps get some finer details cut. Sadly it didnt work all night, so we ended up using the jigsaw for a lot of this


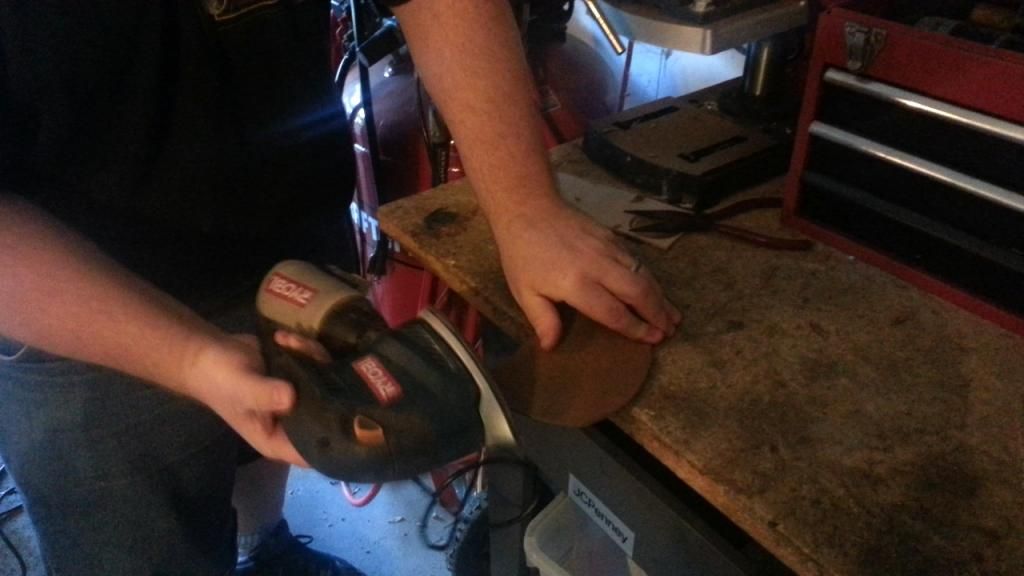
Step 5.)   I then get to work sanding all the edges on the pieces.


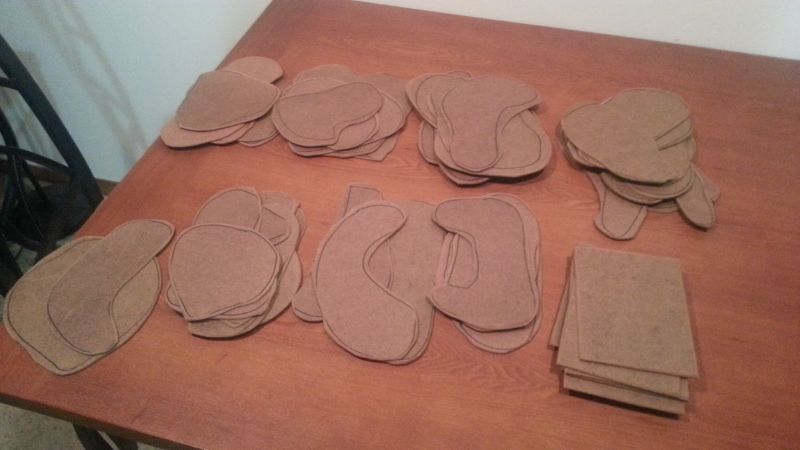
Step 6.) Final results.. 50+ pieces all ready to go. This will keep me busy for the rest of the year at least.


Making "blocks"

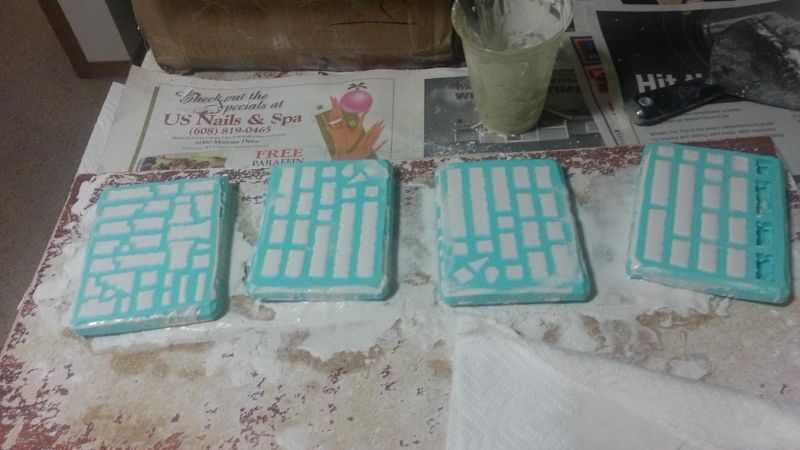
There are other aspects of preparation as well.  I use a variety of Hirst arts  molds, and I am really low on my fieldstone pieces, as I used them recently for my last batch of ruins pieces and some leftovers when I made my ruined city board.


I will spend  2 weeks casting these sames molds 2 to 3 times most days until  I have replenished my supply.


Thursday, June 27, 2013

Making some simple ruins and wall pieces

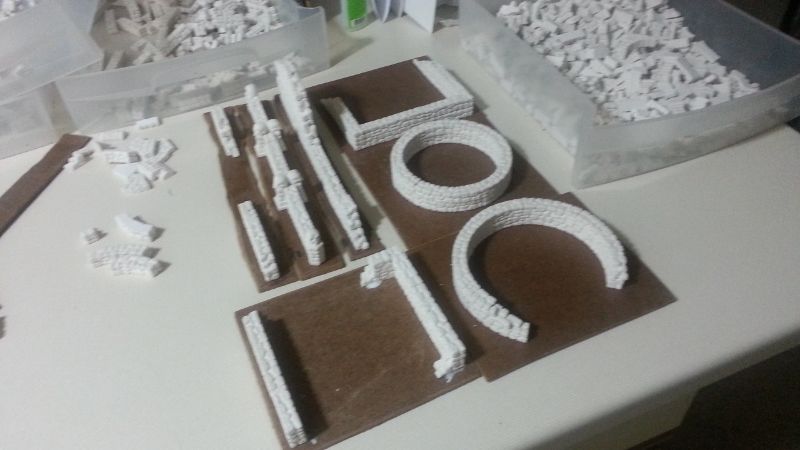
I have not made an update to this blog in a while. After moving I did not put a lot of time into making terrain. I did make the following wall / minor ruins pieces a couple months ago.

I am in the process of buying more materials and using Hirst arts molds to prepare for some upcoming projects, so I hope to have another update within a month or two. (hopefully a decent size post as well)

I donated these pieces to Pegasus Games.

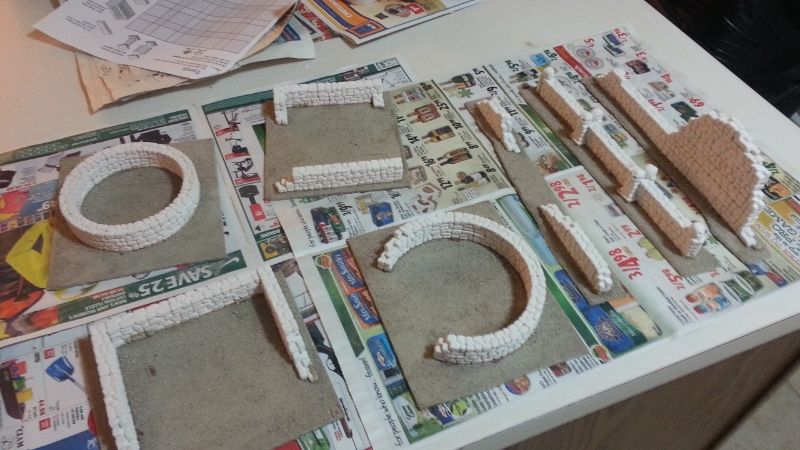
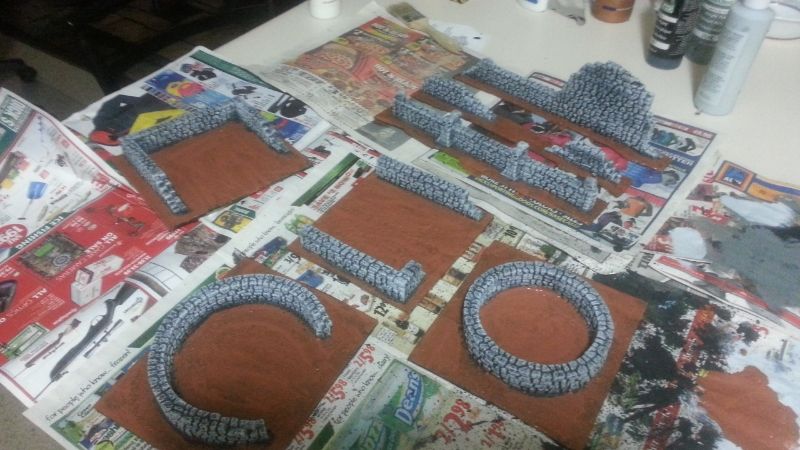
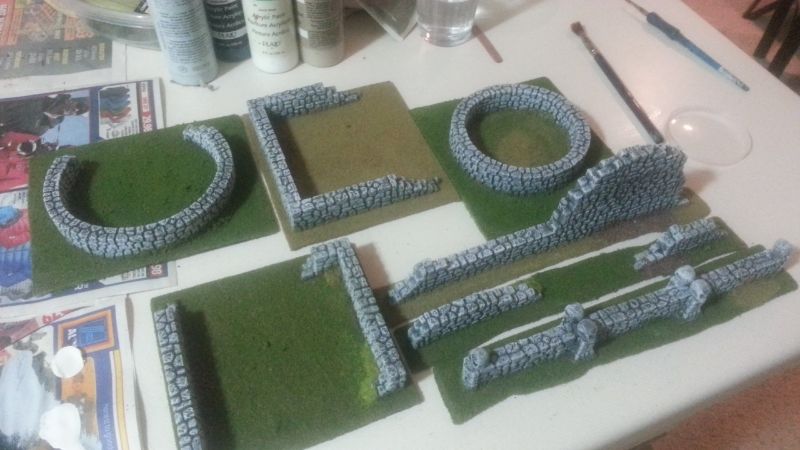
This is a simple 4 step process to make these wall pieces. I used Hirst arts molds  #70,  #72, #73 and #75

Step 1 was just gluing the blocks together in some random shapes.


 photo 20130417_210001_zps2b8730a0.jpg

The next stage is simply too add in a lot of sand/gravel for the base..


 photo 3abda62d-fce8-4889-a76e-18cc6e52f82b_zps7478b866.jpg


Next stage is just some basic colors being added


 photo 39326375-0e6b-4df0-95eb-2539a4266a29_zpsfd8444c1.jpg


The final stage is adding in some grass effects.


 photo 20130419_193859_zps28cb3f95.jpg