Thursday, June 21, 2012

Making some Trees

I am making some terrain for one of our local game stores again. Last week I made some generic wall pieces, but I didn't take any pictures, because simple 4 inch walls aren't too exciting.

I spent some time last week working on some forests.

Materials used.
  • I bought  a small package of tree from woodland scenic. (I can make trees, but the time/effort isn't worth it) - 14 tress is about $25 and its all I needed.
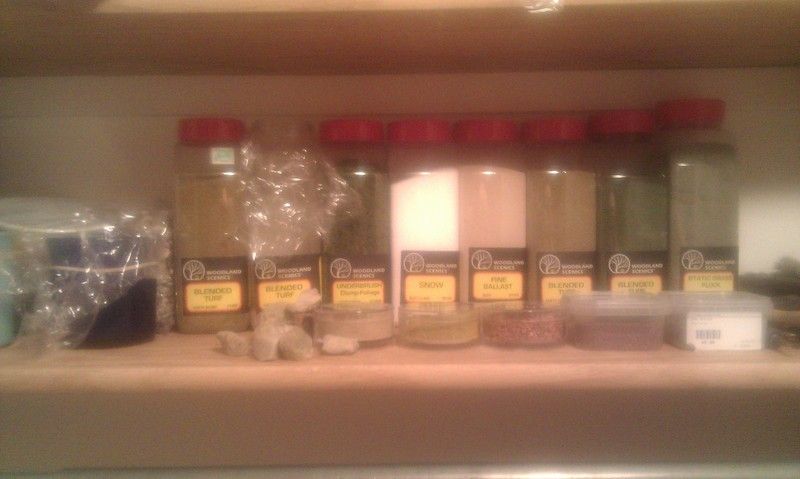
  • I have a variety of flocking materials (pictures below)
  • Both .60 styrene sheets, and some flat wood boards to use as base for the trees.

Photobucket


Forest Bases


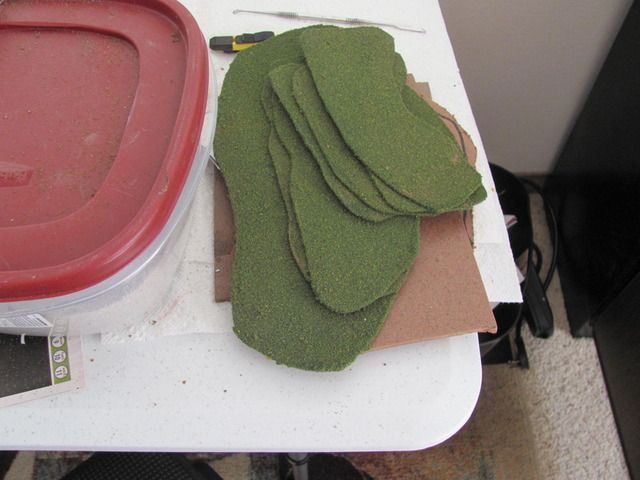
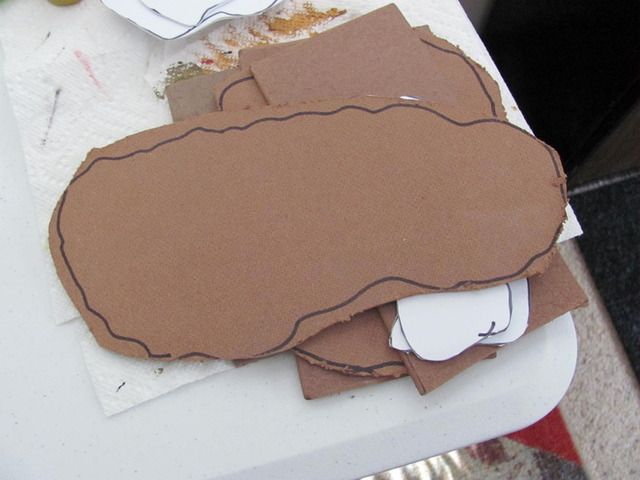
This part is fairly easy. I used some already cutout 1/4 inch wood boards I had from home Depot, and some cutout designs of the styrene sheets for the sizes of forest bases.


Photobucket


I then put flock on all of them.


Photobucket


Tree Bases


This part takes a little bit of work and time.

I need to cut out and paint the bases for the tree. I paint them brown, in case any flock falls off over time, it will look like dirt.

I cut out the small shapes with styrene. this way its sturdy enough to balance on.

In progress Paint pictures

Photobucket


Next step is to glue the tress to these bases

Photobucket


Now I need to get the base of these trees to look nice.


Photobucket


Some of the other flocking materials I used

Photobucket


Examples of finished bases.


Photobucket

Photobucket


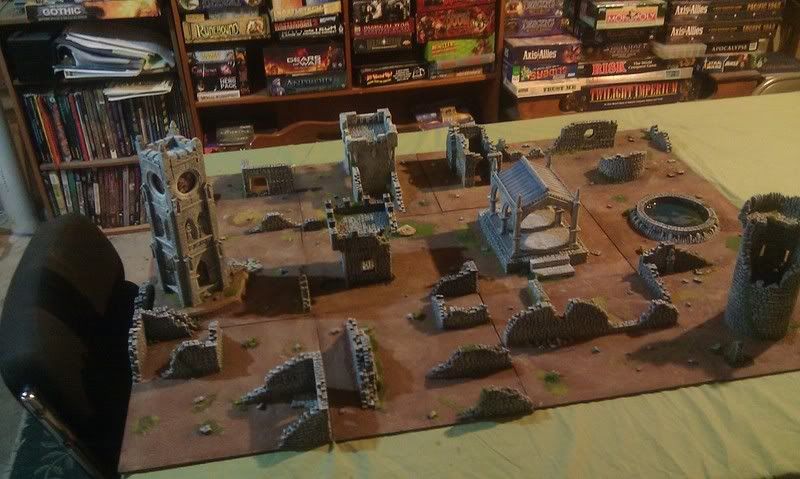
Finished Trees

Photobucket


Photobucket

Thursday, May 24, 2012

New Work Station


I have recently moved and some of the challenges is setting up a new work area for working on terrain. I use to share a townhouse with some friends, and I had access to entire room that we used as a game room, and I had my terrain workstation setup.
Now that I live alone in an 1 bedroom apartment. Luckily I have a huge walk-in closet that helps me hold a lot of my tools and supplies.


The first step to getting back into working on terrain and painting is getting my work area all setup.

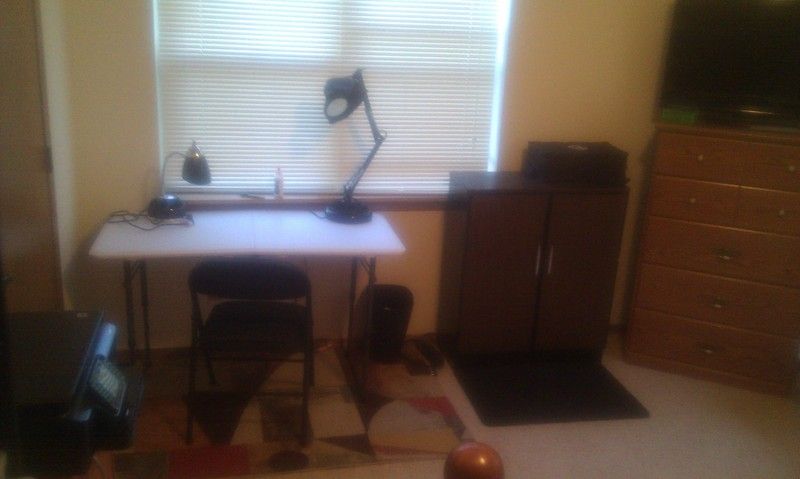
Here are the pictures of my new work area, which I'm very happy how it all turned out.


Corner of my room, where I will do all the work


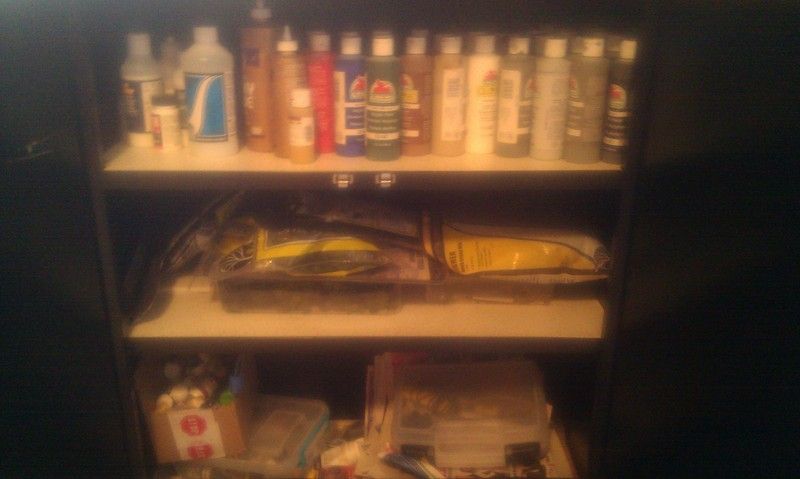
Cabinet next to the table


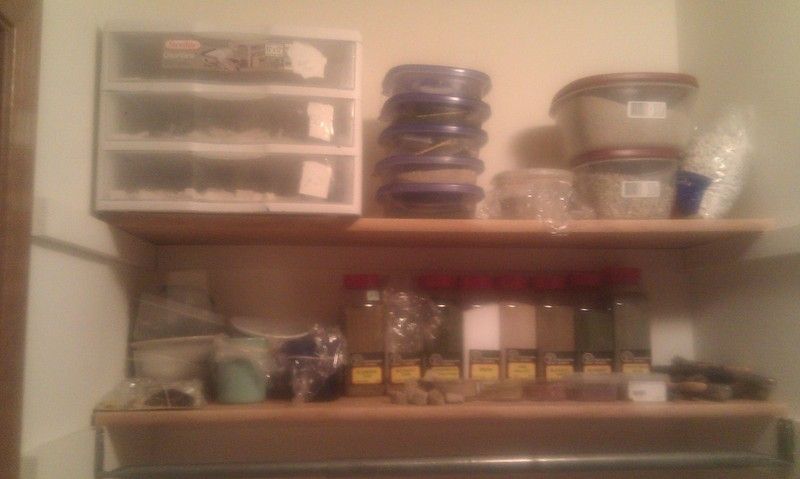
Closet full of supplies - Top Shelves


Top Shelf (gravel and sand)


Bottom Shelf (tons of flock and more flock, and even more flock)


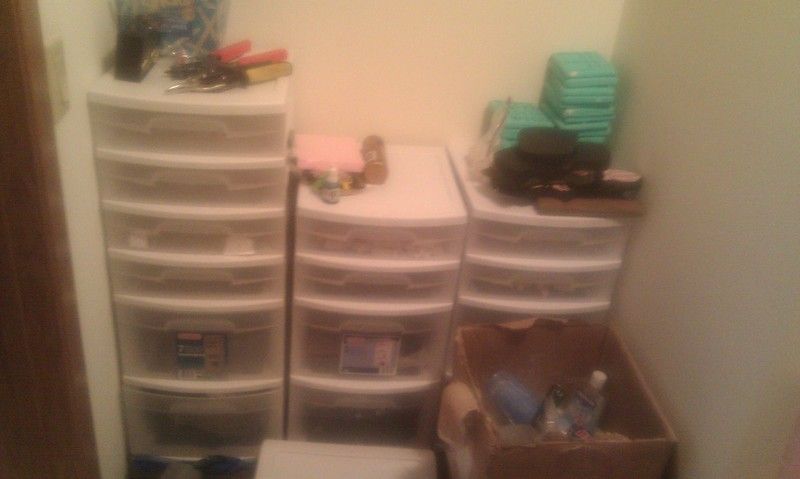
Closet full of supplies -  (drawers contain tons of Hirst art blocks and tons of just random supplies)


Back Corner -


Friday, February 24, 2012

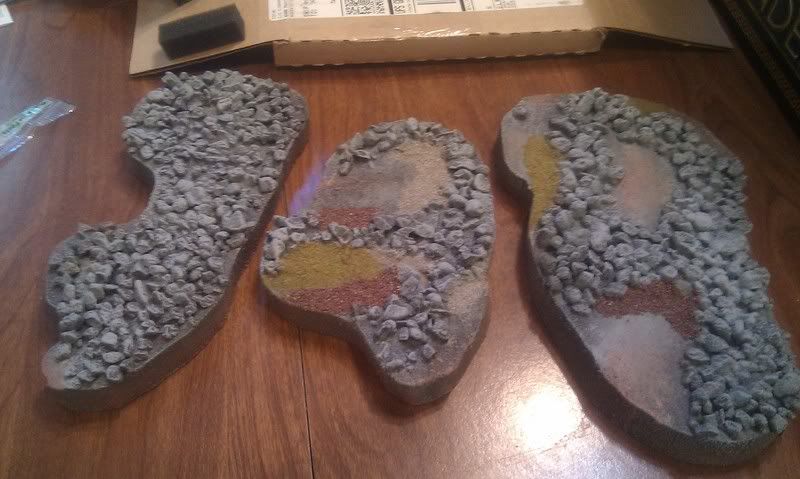
Some quick "rough Terrain" hills

This is a small update, but I have made a few small hills for one of local game stores. I've made one in the past, but i wanted to try some hills with some rough terrain on them, as I wanted to make different types of terrain pieces to play on.


FYI  - I am moving in a 2 months and I am really not focusing on any big projects until after I move. I may post once or twice if i manage to do any small projects during that time.

Saturday, January 28, 2012

Ponds and small ruins

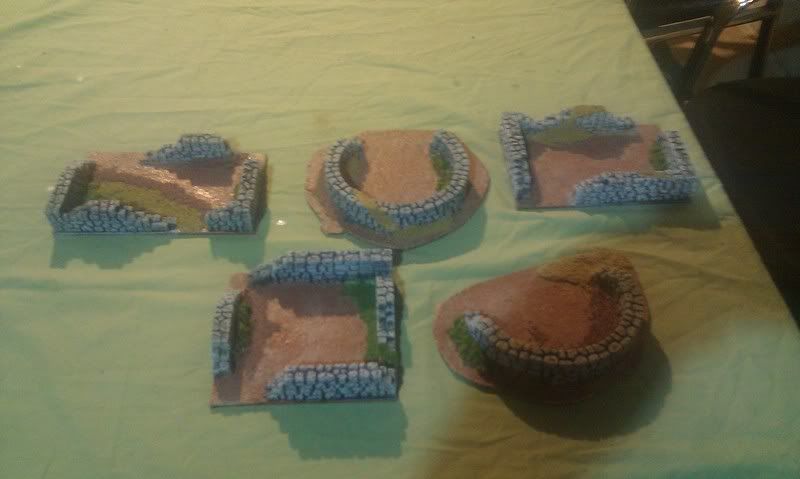
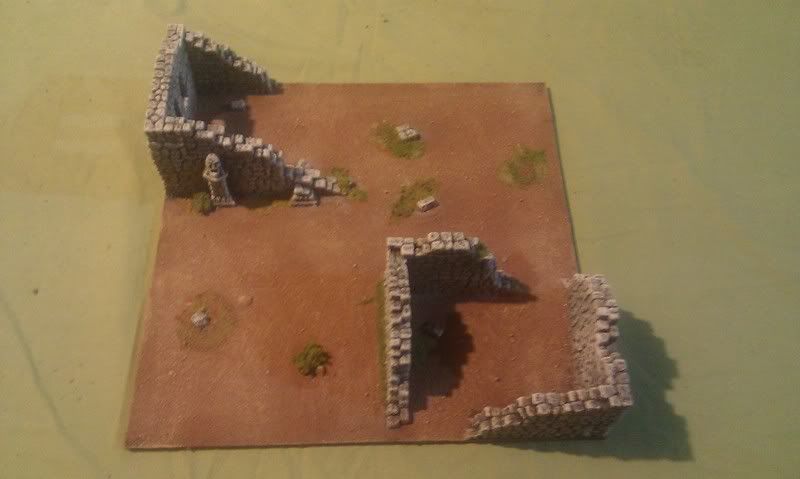
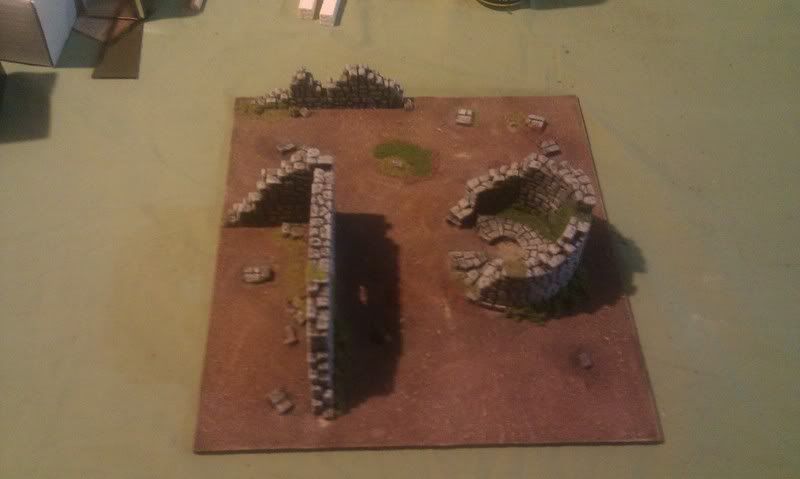
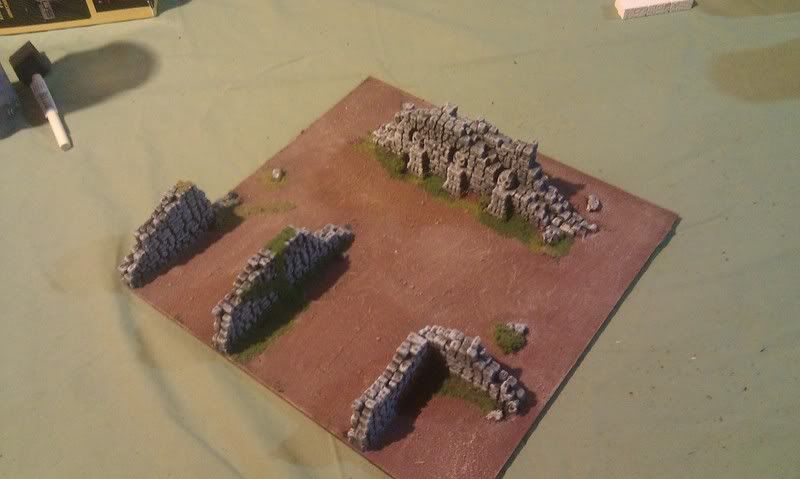
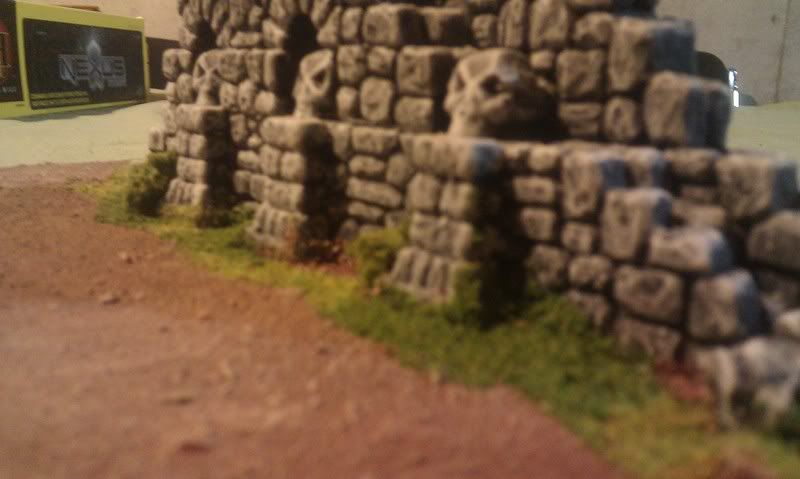
I am taking a small break from my larger ruins project and put some time into making some terrain for the local gamestores.

First Up I wanted to make some small walls and minor ruins pieces.


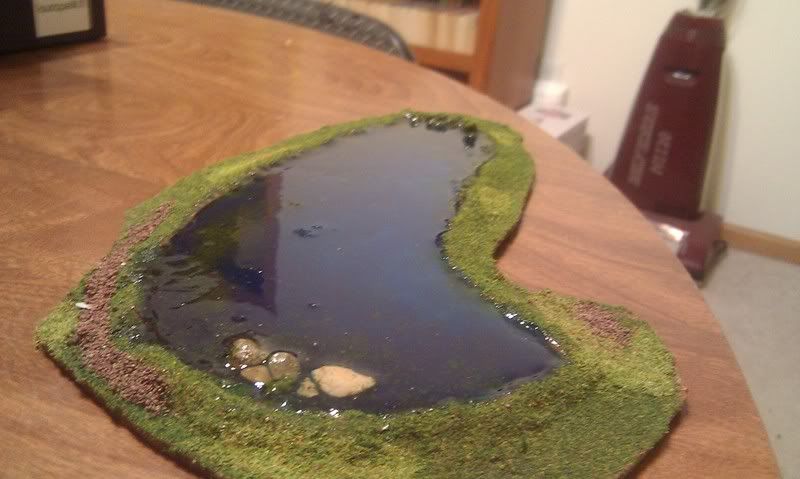
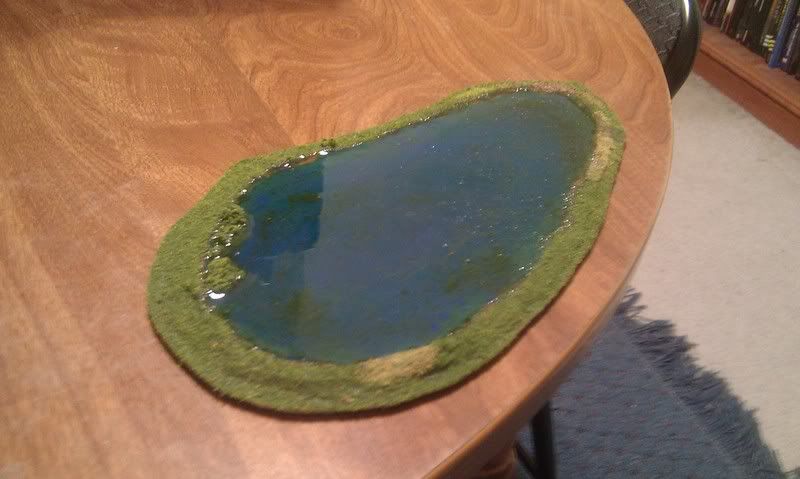
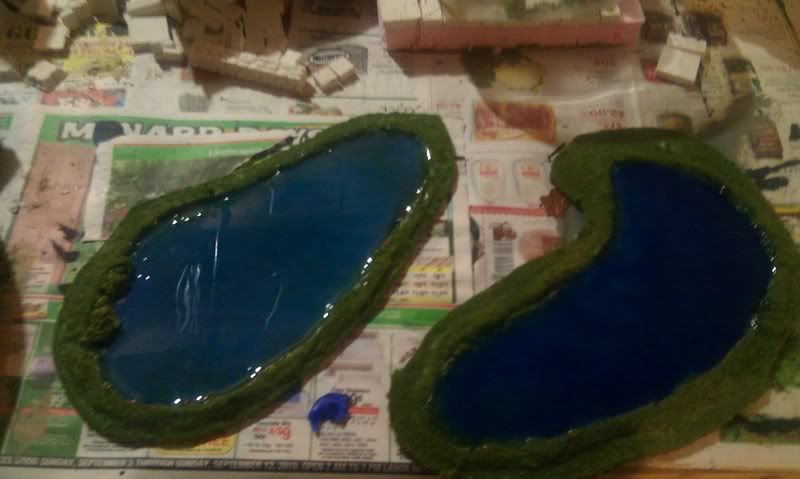
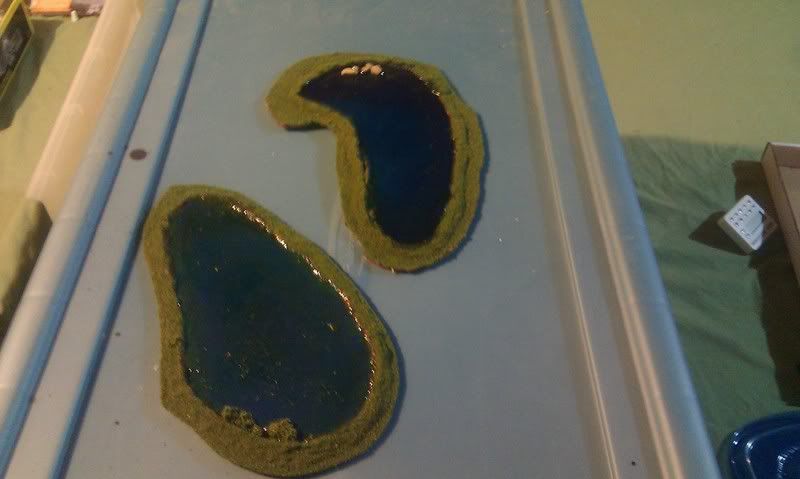
Next I wanted to make a couple new water pieces.


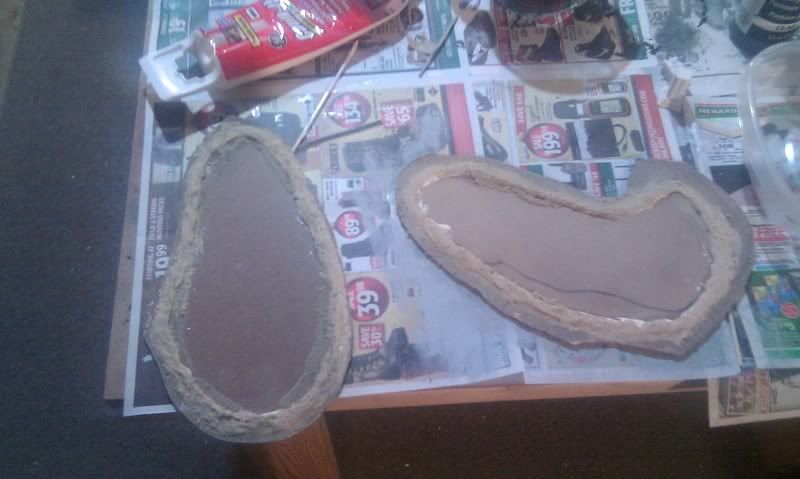
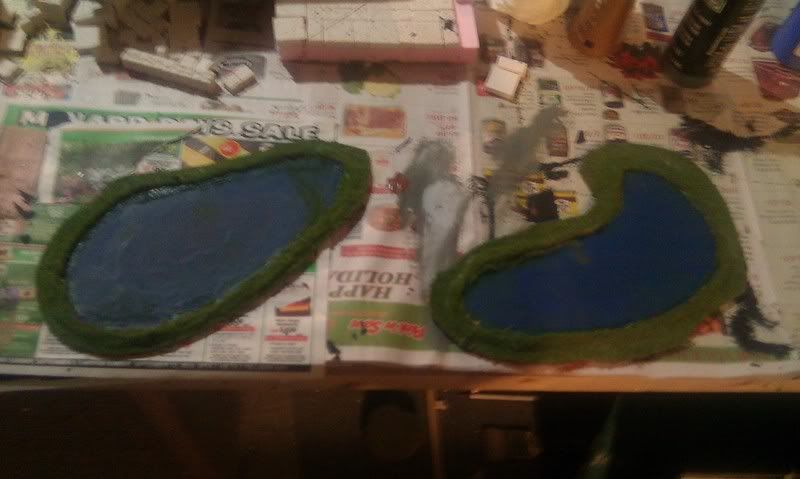
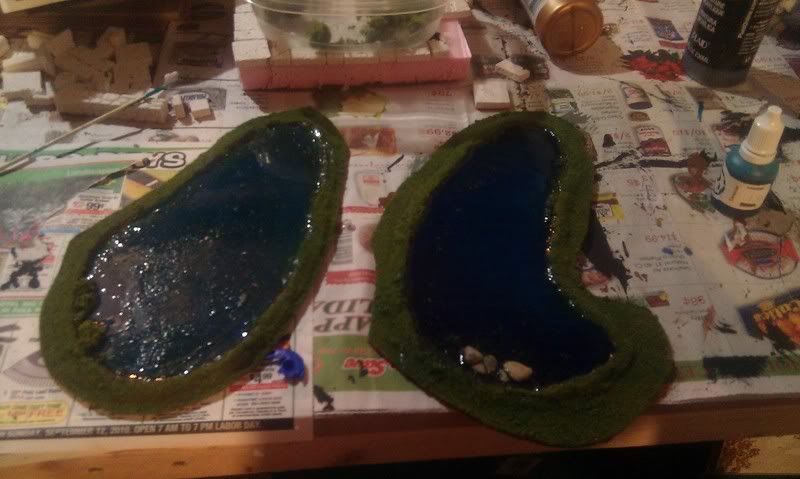
I took some in progress pictures of the small water pieces to show what it took to make them.


Painted the piece with flock, and I then painted the bottom of the ponds


One layer of water effects


2nd layer of water effects, and some other pieces added to the water to add some special effects.


Another layer of water before final flock effects.

Friday, January 13, 2012

Thursday, January 12, 2012

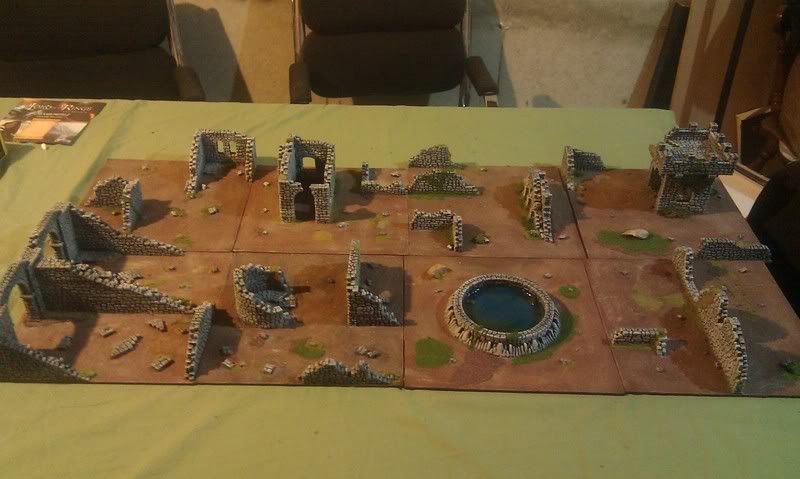
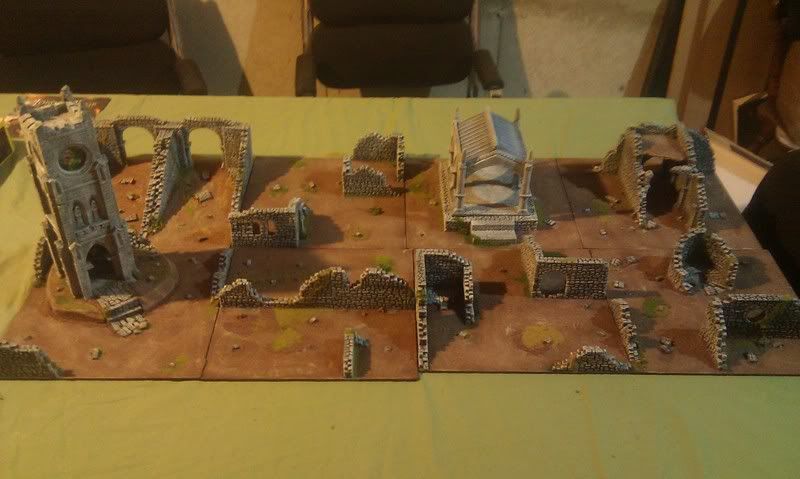
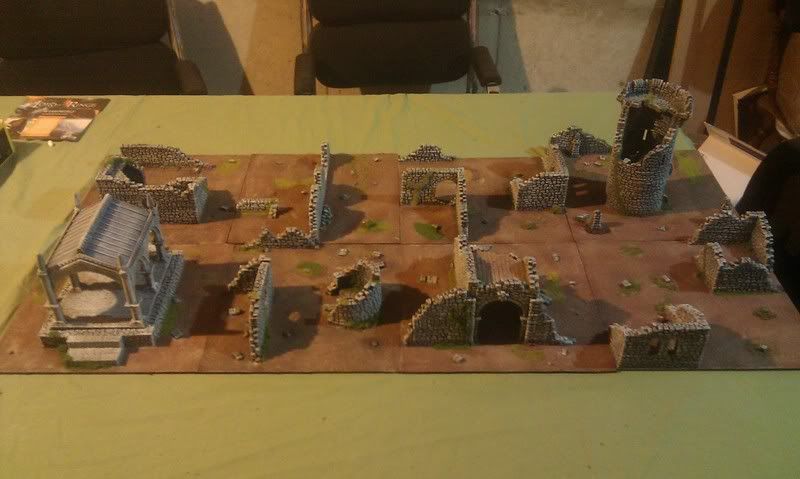
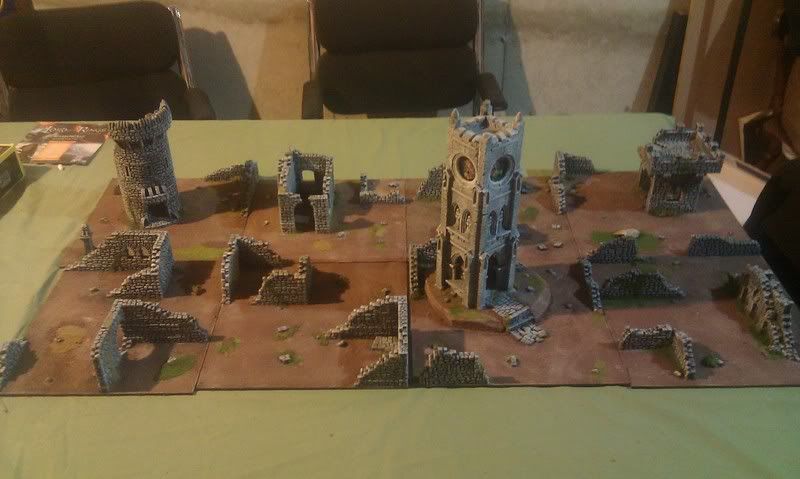
Ruined city - Painting Phase Update 4 - the home stretch

My ruined city project continues to make great progress.  I have spent the past 2 weeks working hard on this project. I will show off the rest of the pieces as they are all now painted.

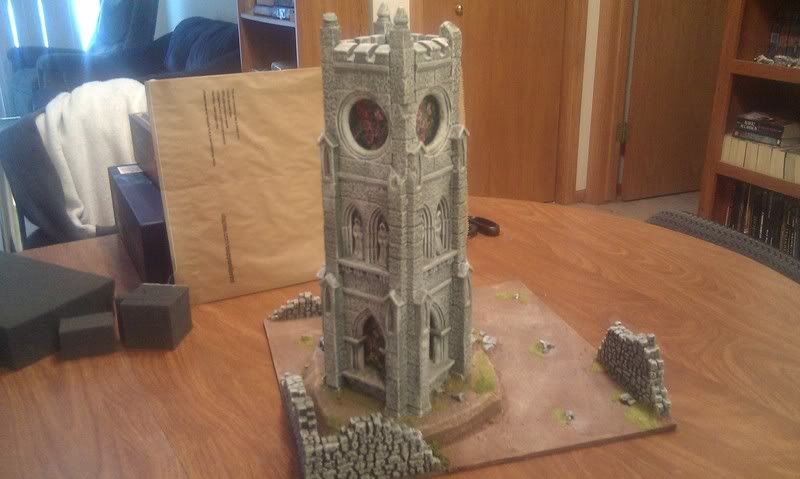
I am very happy with how the pieces turned out and the Belltower piece really shines.   The last step I really need to focus on is to find some statues for one of my pieces.


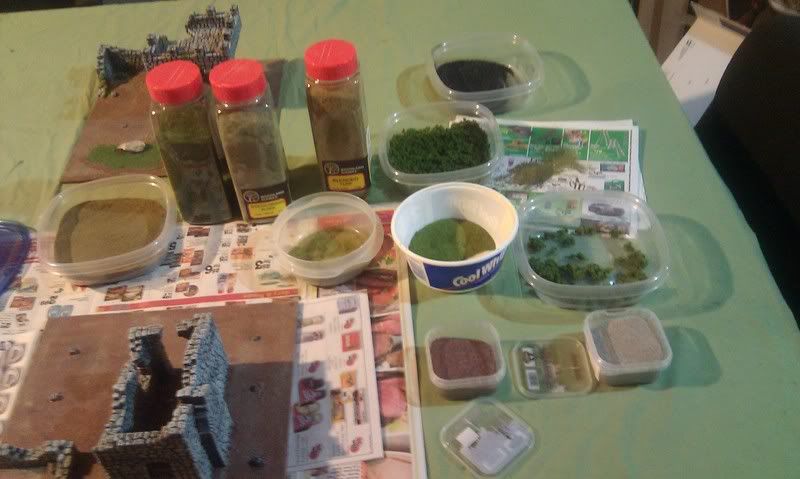
I used a lot of different flocks and grass to get some of the looks of the pieces. Here is an image of all the different types I used.


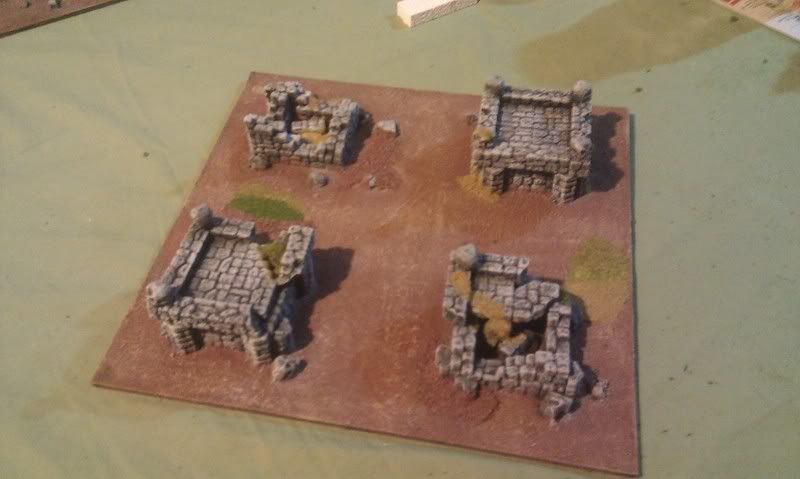
I completed 3 more standard pieces


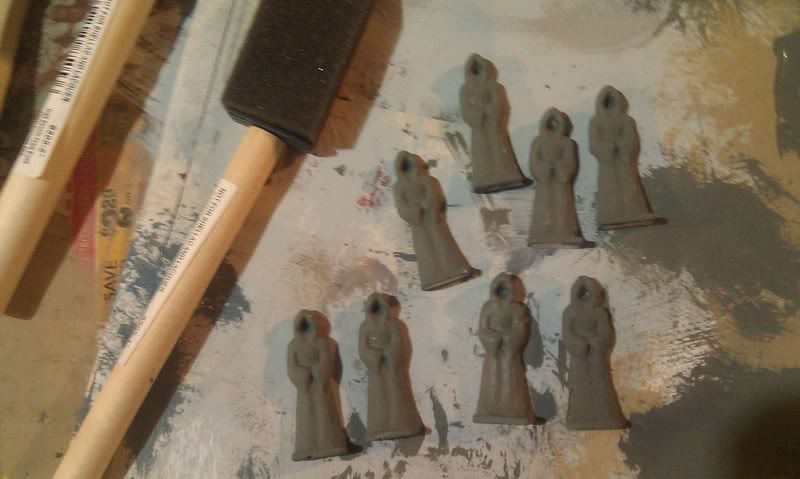
This piece will need to have the statues added to it, and I have not yet decided what to use for the statures.


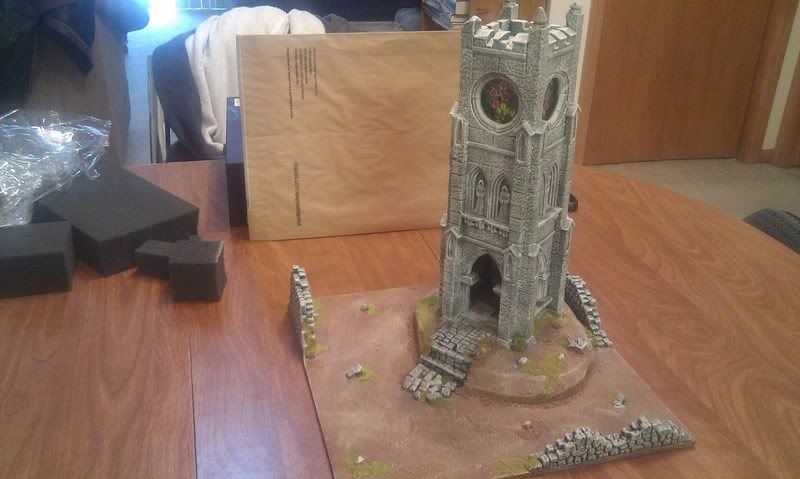
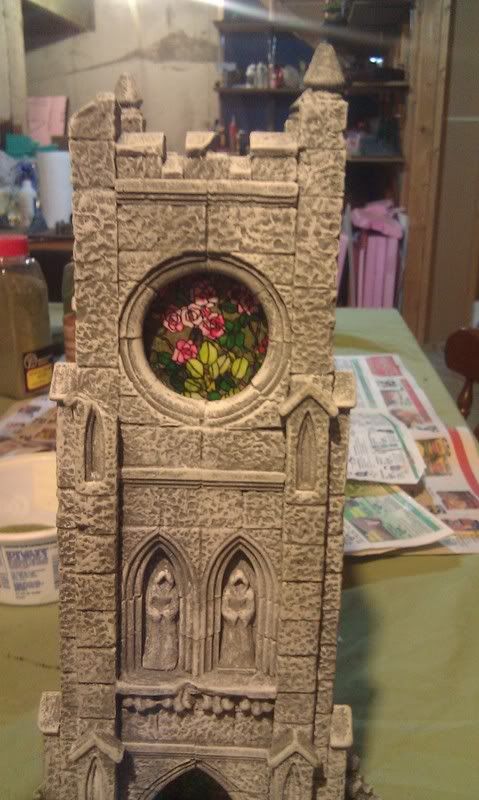
The final piece is the Bell Tower. I have taken a a lot of in progress pictures for this piece, including some of the step by step of the Stained glass windows. My roommate Andy(majortusk on forums), suggested the method I currently am using. I was first going to try to just paint stain glass, but this method turned out to be very successful.


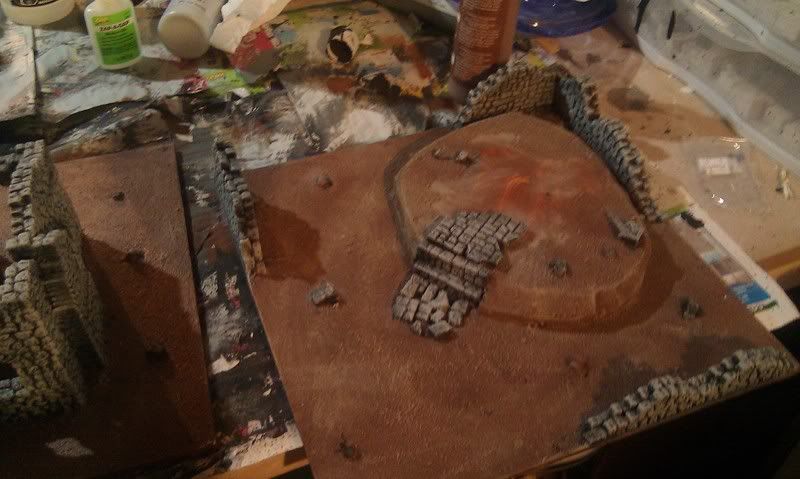
The Base for the Bell Tower


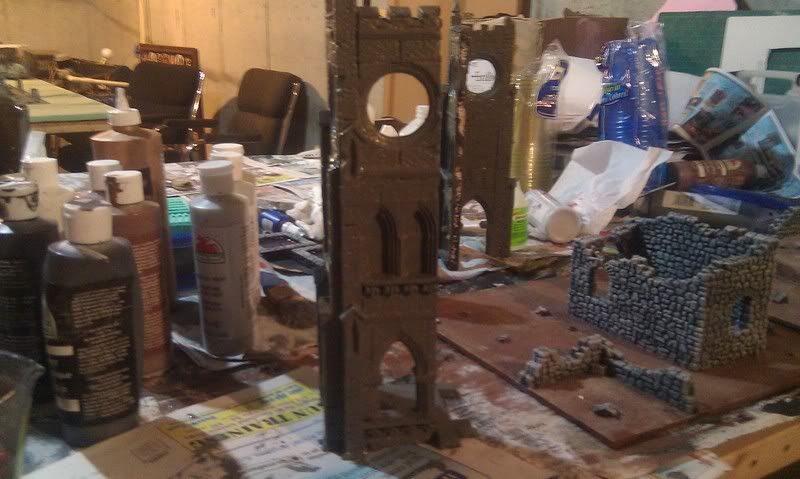
First stage of basecoat


Some final pieces I put together to add some detail to the model


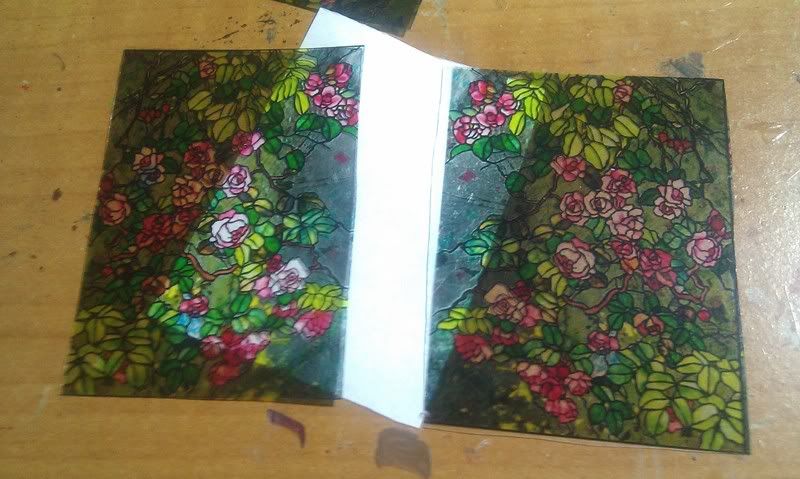
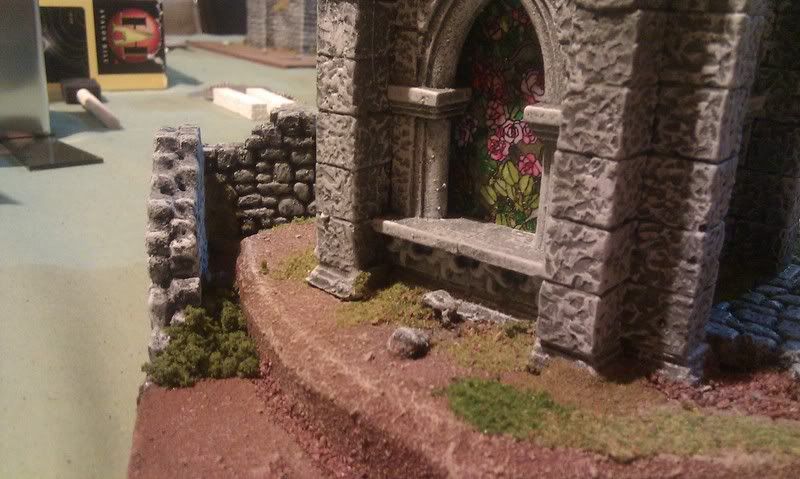
For the stained glass I am printing off an image on transparency sheets used for overhead projectors.  I also had to glue them to back of a white piece of paper to brighten up the image.


Here is an example with and without the white background.


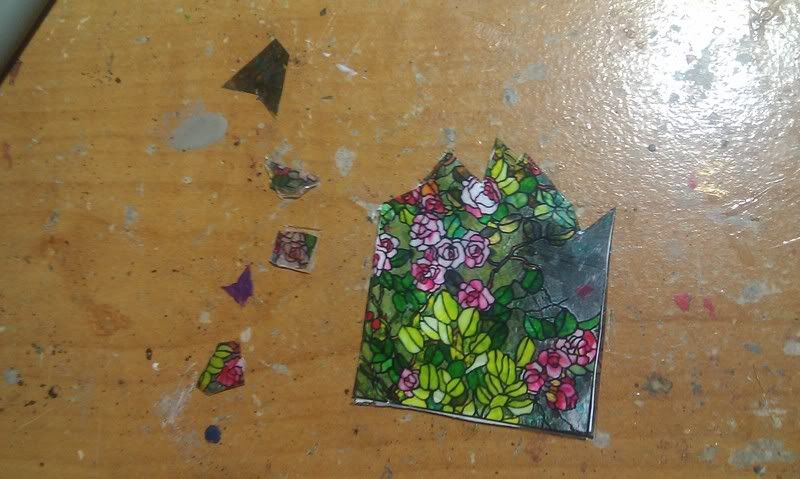
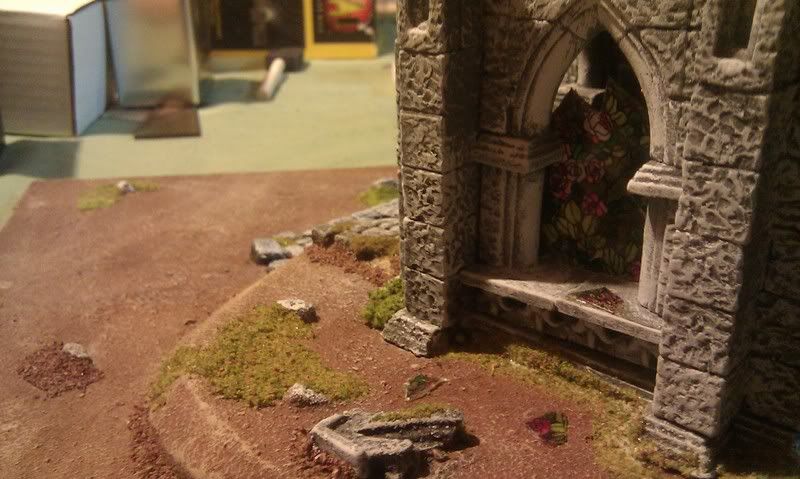
I also wanted to make one broken window and have some glass shards laying around.


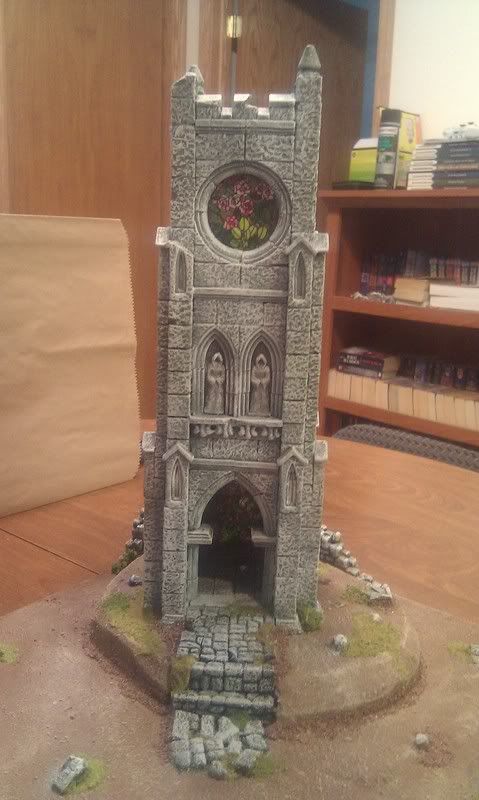
Picture of front of the tower.


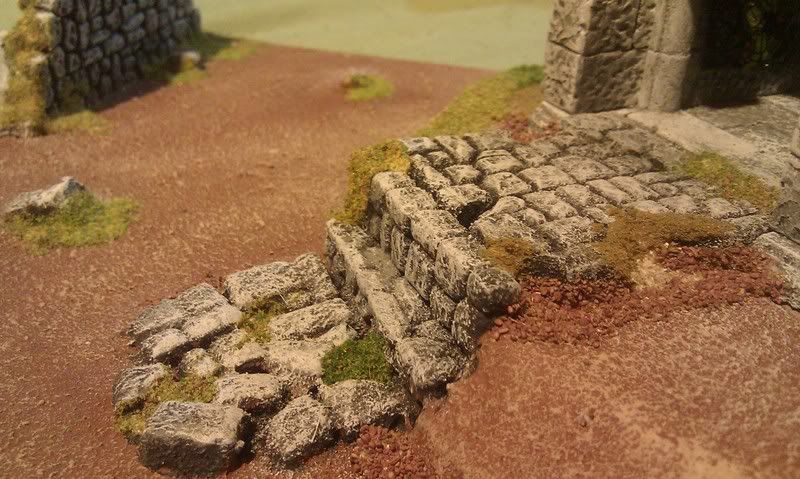
Some close-ups